
soft, simple, and made with a little extra fiber for real-life family mornings
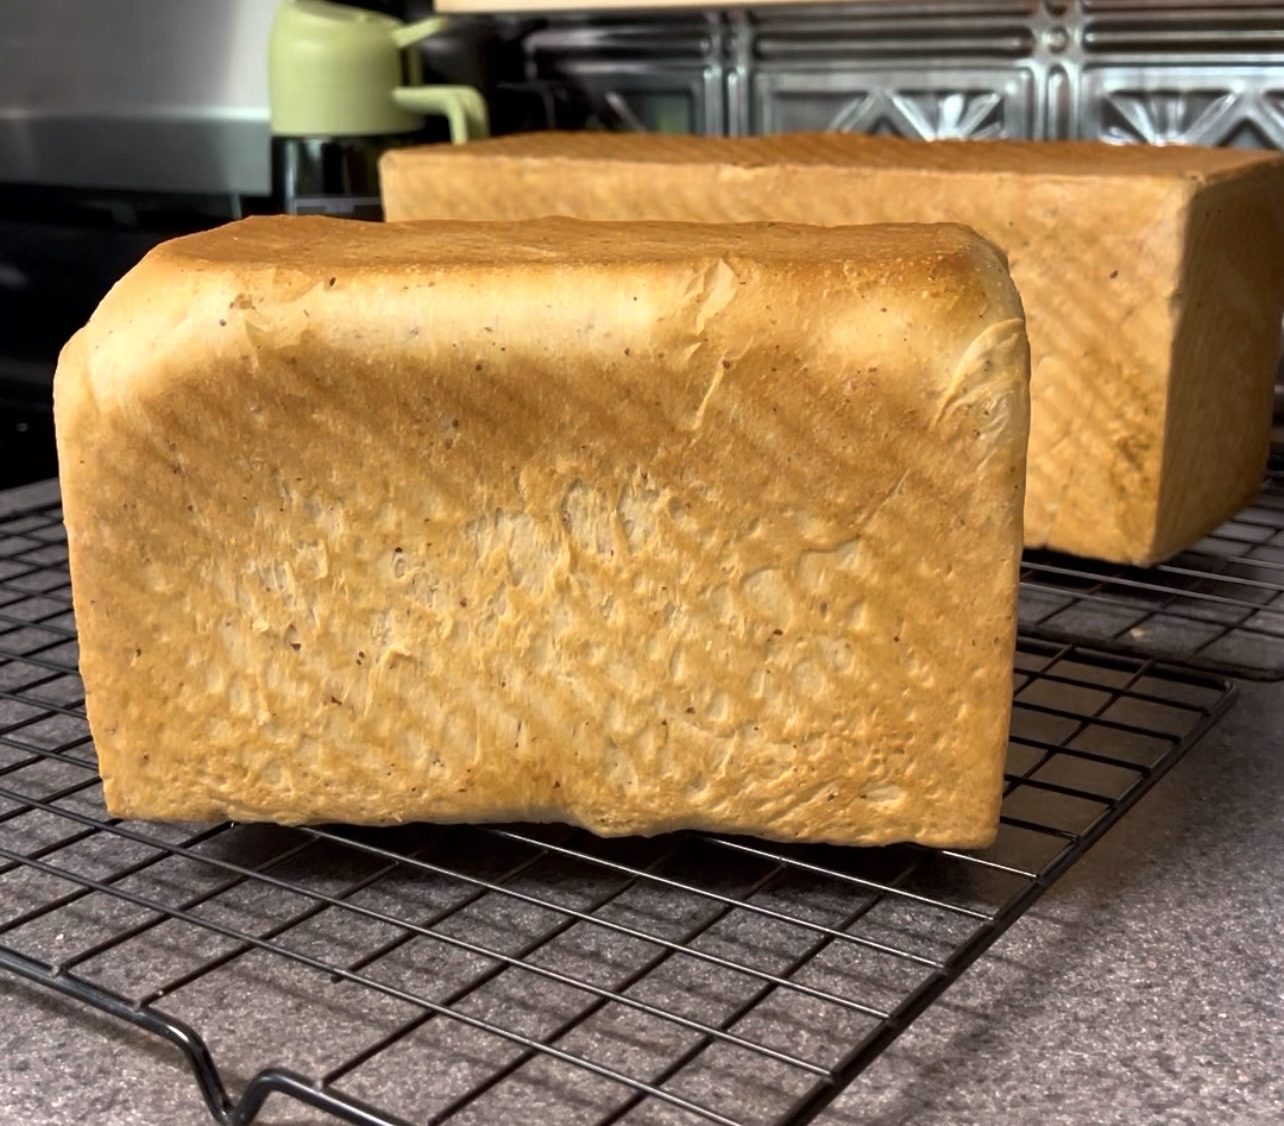
this bread became root 1
this sandwich bread became root 1 in the rooted pantry project because it’s one of the homemade swaps my family actually asks for. we’re slowly replacing store-bought staples with homemade versions that actually fit real family life.
There are a lot of reasons I make our sandwich bread from scratch.
It saves money.
It tastes better.
I know what’s in it.
And honestly? My kids have completely ruined store-bought bread for themselves.
Right before a camping trip, I was looking at my giant list of things I still needed to prep and said something like, “I might just cheat and buy Uncrustables because I don’t have bread made.”
My daughter immediately looked at me, finger waving and everything, and said, “Uh uh. Make your delicious bread.”
So yeah. Apparently we’re a homemade bread family now.
This is my go-to soft sandwich bread recipe. It makes the perfect amount for two Pullman loaf pans — one 2.2 lb Pullman loaf pan and one 1 lb Pullman loaf pan — which is ideal if you want one bigger loaf for sandwiches and one smaller loaf for toast, freezer backup, or the loaf everyone starts slicing into before dinner.
quick note: this post may contain affiliate links. if you buy through them, i may earn a small commission at no extra cost to you. i only share things i actually use or would recommend.
why I make this bread
This bread is soft enough for sandwiches, sturdy enough for freezer prep, and simple enough that it does not feel like a whole personality trait to make it.
I also like that it has a little extra fiber from whole wheat flour and ground flaxseed. Nothing wild. I’m not pretending this is a magic gut-health loaf. But for our family, especially with my daughter’s gut health in mind, I like making small swaps where I can.
The bread still feels like normal sandwich bread. It is not dense, gritty, or “health bread pretending to be fun.”
It’s just soft homemade sandwich bread with a little more intention built in.
my favorite tool for mixing dough
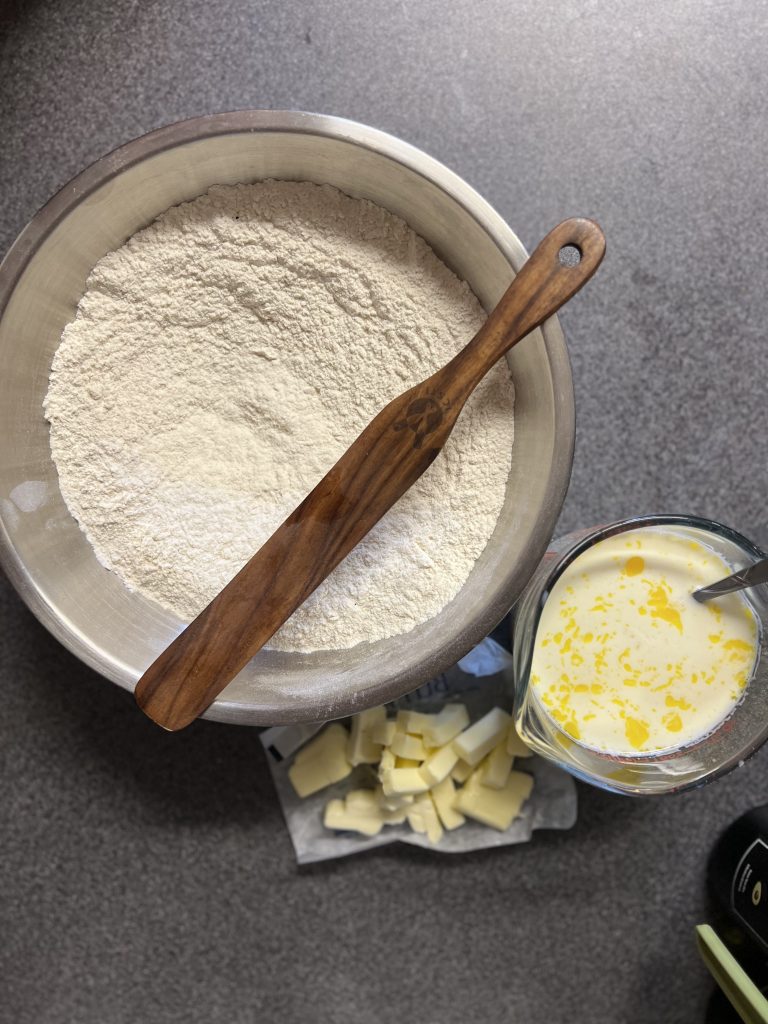
Okay, this is very specific, but my favorite tool for mixing dough is a skinny spurtle.
Technically, skinny spurtles are often recommended for stirring sourdough starter because they can get down into jars and mix without making a huge mess.
But I use mine for dough too.
It works especially well when I’m mixing this bread by hand because it helps scrape the sides of the bowl, pull everything together, and stir through the sticky stage before I start kneading.
You do not need a bunch of fancy tools to make sandwich bread, but I will absolutely defend the skinny spurtle. It looks almost too simple to matter, and then suddenly you’re annoyed every time it’s dirty.
what i use
skinny spurtle
pullman loaf pans
ground flax seed
unbleached bread flour
dough scraper
kitchen scale
homemade sandwich bread recipe
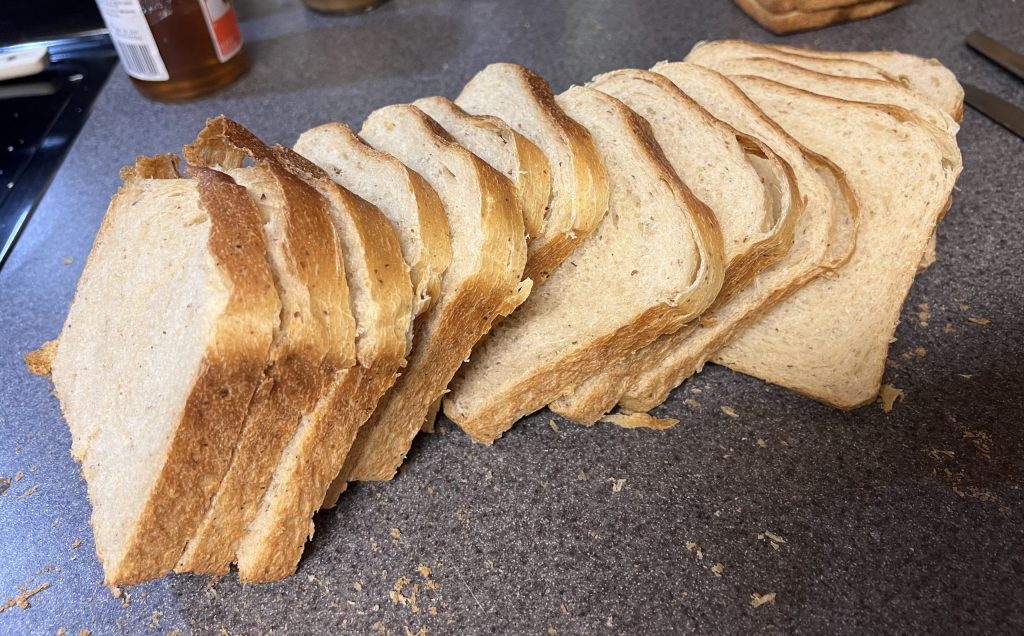
ingredients
- 415 ml warm milk
- 2 eggs
- 60 g melted butter
- 60 g honey
- 10 g salt
- 10 g active dry yeast
- 700 g bread flour
- 100 g whole wheat flour
- 15 g ground flaxseed
- optional: 10–15 ml extra milk if needed
instructions
- activate the yeast
Add the warm milk, honey, and active dry yeast to a large mixing bowl. Stir and let it sit for 5–10 minutes, until foamy.
- mix the dough
Add the eggs, melted butter, and salt. Stir to combine.
Add the bread flour, whole wheat flour, and ground flaxseed.
Mix until a shaggy dough forms. A skinny spurtle works really well here because it helps scrape the bowl and pull the dough together before kneading.
Let the dough rest for 10–15 minutes.
- knead
Knead the dough for 8–12 minutes, until it becomes smooth, elastic, and slightly tacky.
If the dough feels tight or dry, add a little extra milk, 1 tablespoon at a time. Do not force a dry dough. Soft sandwich bread needs a dough that still has some moisture.
- first rise
Cover the bowl and let the dough rise until doubled.
Depending on how warm your kitchen is, this may take about 1½–3 hours.
- divide and shape
Grease one 2.2 lb Pullman loaf pan and one 1 lb Pullman loaf pan.
Divide the dough between the two pans. The larger pan will get the bigger portion, and the smaller pan will get the remaining dough.
Shape each portion into a loaf and place it seam-side down in the pan.
- second rise
Cover and let the dough rise until puffy.
If baking without the Pullman lids, let the dough rise until it is nicely domed over the pan.
If baking with the lids, let the dough rise until it is close to the top but still has a little room to expand.
- bake
Bake at 350°F until golden and baked through.
The smaller loaf may finish before the larger loaf, so check that one first.
For best results, the center of the loaf should be around 190°F when fully baked.
- cool
Remove the loaves from the pans and let them cool completely before slicing.
I know. This part is rude. But slicing hot bread is how you get squished bread and regret.
how we use this bread
We use this bread for sandwiches, toast, grilled cheese, camping food, and freezer prep.
It also works really well for homemade peanut butter and jelly sandwiches if you want an Uncrustable-style freezer option without buying the boxed ones.
Slice the bread once fully cooled, then freeze slices or sandwiches with parchment between layers so they are easy to pull apart.
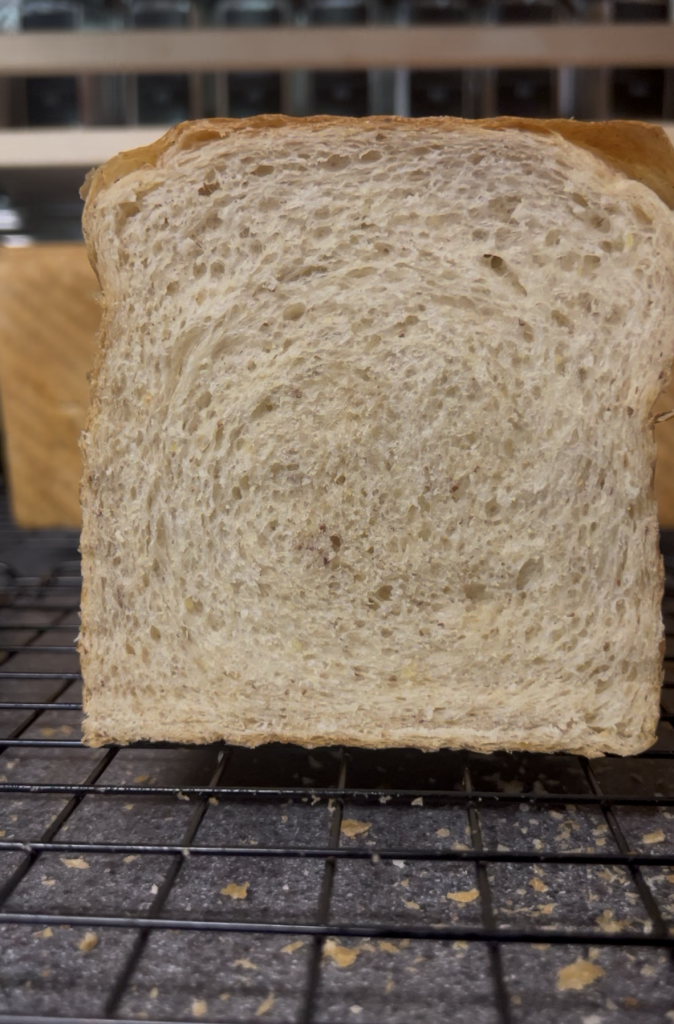
freezer tips
Let the bread cool completely before freezing.
For sliced bread, freeze the slices in a freezer-safe bag with as much air removed as possible.
For sandwiches, wrap individually or freeze flat first before storing together.
I usually avoid vacuum sealing soft bread unless it is already frozen solid, because soft bread will absolutely get crushed. Ask me how I know.
why pullman loaf pans work so well
Pullman loaf pans make soft, even sandwich-style loaves that are easy to slice.
I like using one 2.2 lb Pullman pan and one 1 lb Pullman pan because this recipe fits the set really well. The bigger loaf is great for sandwiches, and the smaller loaf is nice for toast, freezer backup, or the loaf everyone “just wants one piece” from.
Which is never one piece.
homemade bread does not have to be complicated
I know homemade bread can sound like one more thing to add to an already full day.
But this is one of those recipes that actually makes life easier once it becomes part of your rhythm.
A couple loaves of sandwich bread in the freezer means easier lunches, better toast, quick grilled cheese, and one less thing to grab from the store.
And apparently, in our house, it also means not being allowed to buy Uncrustables before camping.
Fair enough.