
remember little debbie cosmic brownies? the ones with the chocolate frosting and those little rainbow chips on top?
it’s funny how differently you look at the things you grew up eating once you’re the one buying groceries for your own family. i don’t know if everything has actually changed that much or if i’m just paying closer attention now, but some of those ingredient lists sure seem a whole lot longer than i remember.
we’ve been making more of our favorite foods at home, mostly because i like knowing exactly what’s going into them. and one day i got to looking at cosmic brownies and thought, i bet i could make those myself. probably even better.
a few batches later, i think i can safely say i was right. 😂
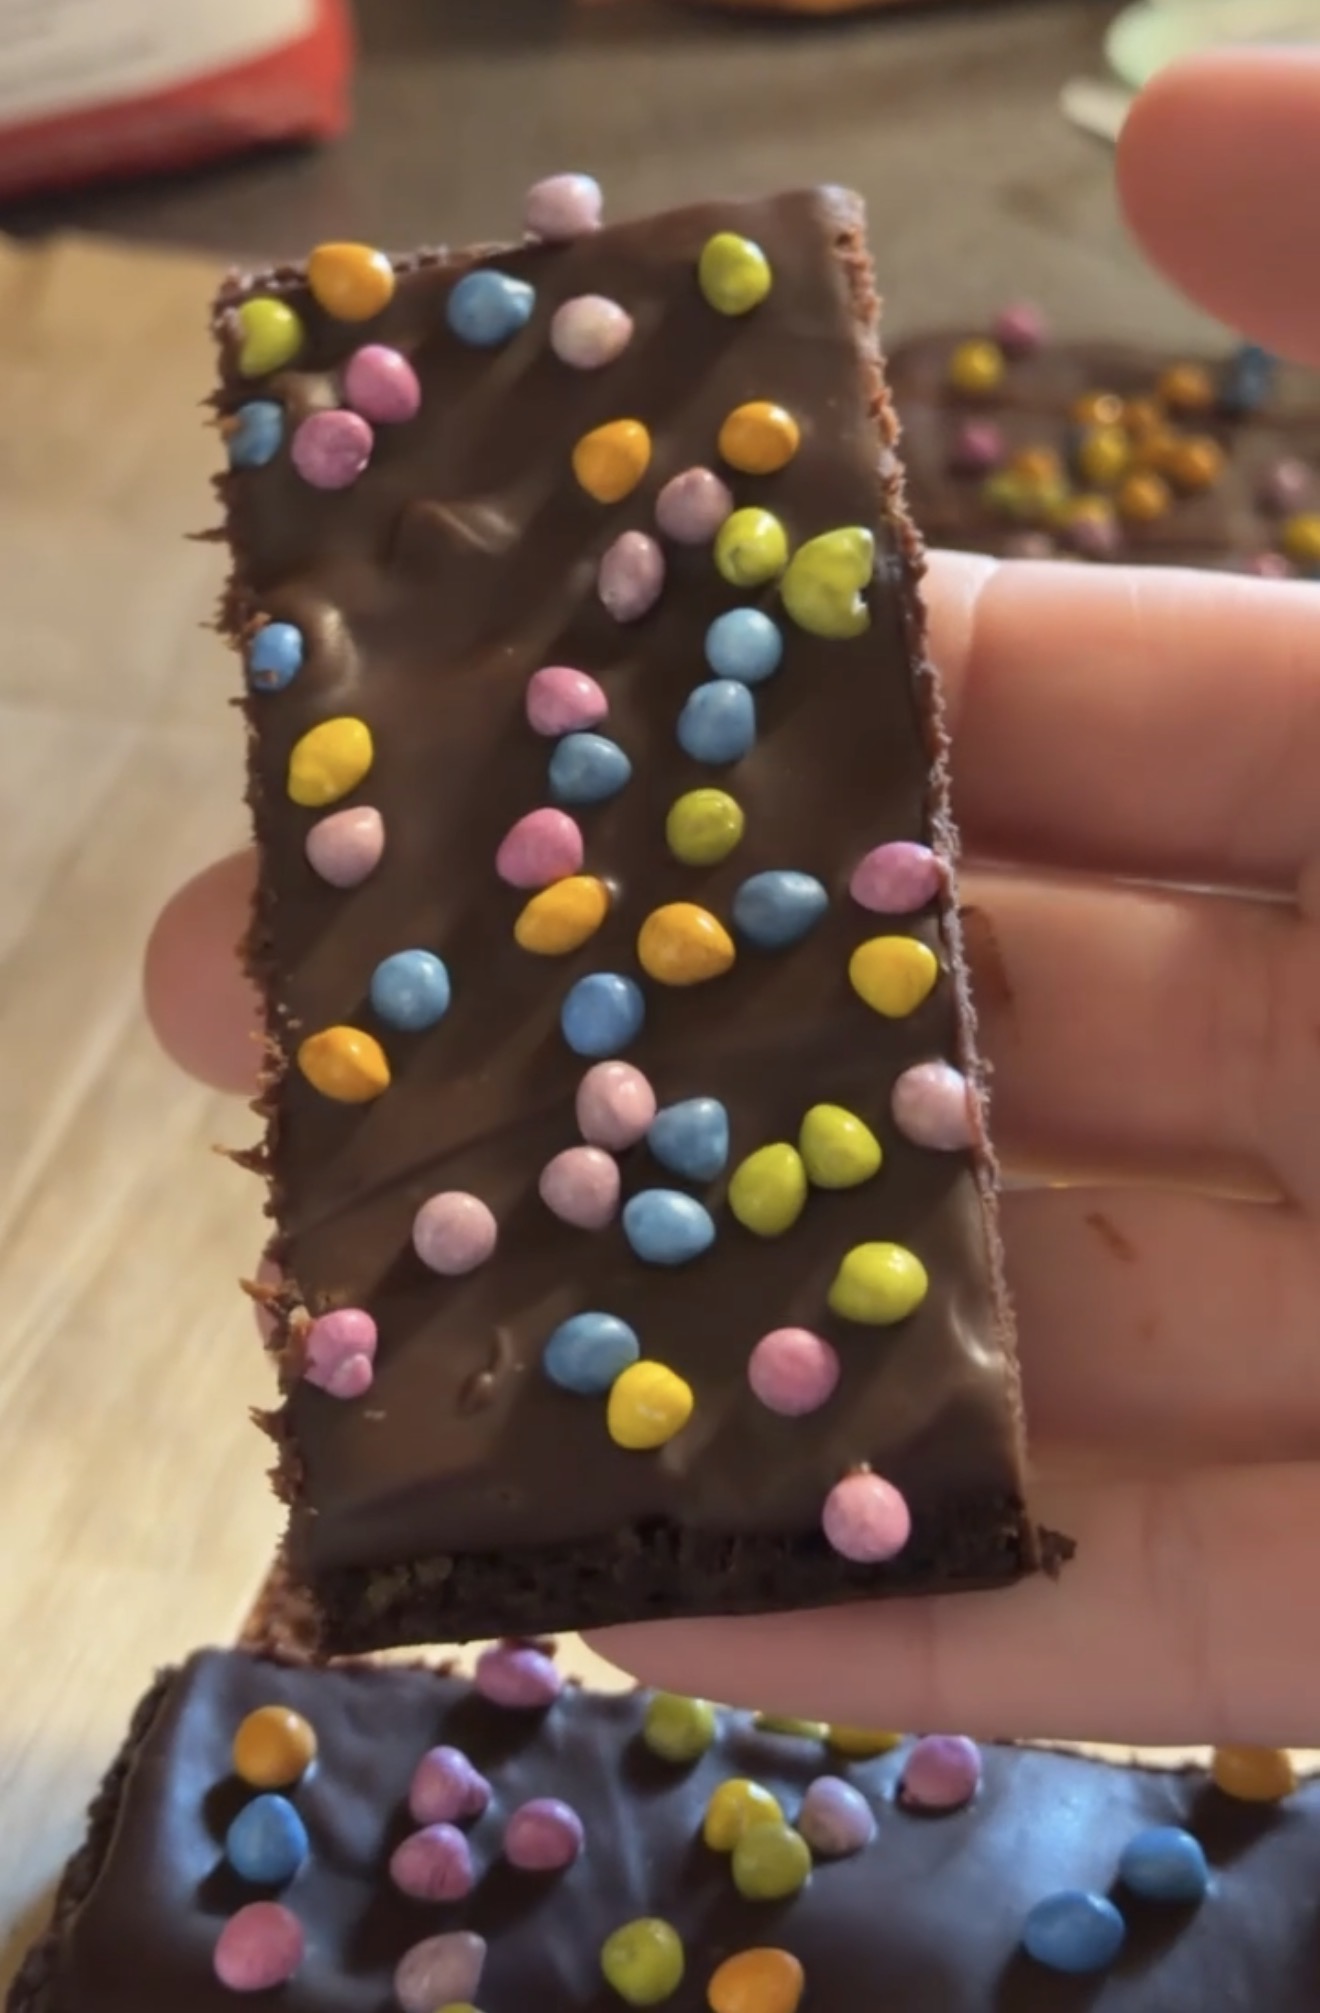
these are dense, fudgy, chewy, and topped with chocolate ganache and those little rainbow candy chips. i even found dye-free rainbow chips, so i didn’t have to give up the part that makes them cosmic brownies in the first place.
the espresso powder ended up being one of my favorite additions, and even my daughter, who normally doesn’t care much for chocolate, loves them.
they’re still brownies. they’re still a sweet treat. but they’re made with ingredients i chose, and i genuinely think they taste ten times better than the ones in the box.
part of the rooted pantry project
- how i stock them
- individually wrapped and frozen
- how we use them
- a treat now, plus easy lunchbox brownies later
why i keep making these
because the kids actually eat them. 😂
seriously though, that’s a pretty big part of it. i can make a batch, keep some in the fridge for everyone to enjoy, and put about half in the freezer for later.
they’re great to have on hand when somebody wants something sweet, and every once in a while one makes its way into my son’s lunchbox.
i love being able to make something once and have it ready for another day. especially when it’s something the whole family enjoys.
homemade cosmic brownies
Dense browned-butter brownies with chocolate ganache and rainbow candy-coated chips.
for the brownies
- 113 g (1/2 cup) unsalted butter
- 150 g (3/4 cup) granulated sugar
- 55 g (1/4 cup) brown sugar
- 50 g (1/2 cup) Dutch-process cocoa powder
- 1/2 teaspoon kosher salt
- 1/2 teaspoon espresso powder, optional but highly recommended
- 2 teaspoons vanilla extract
- 2 large eggs
- 1 large egg yolk
- 65 g (1/2 cup) all-purpose flour
- 8 g (1 tablespoon) cornstarch
for the ganache + topping
- 115 g (4 ounces) semisweet chocolate, finely chopped
- 60 g (1/4 cup) heavy cream
- 10 g (2 teaspoons) unsalted butter
- 1 tablespoon light corn syrup
- pinch of salt
- 2–3 tablespoons rainbow candy-coated chocolate chips
instructions
- Preheat the oven to 350°F and line an 8×8-inch pan with parchment paper.
- Brown the butter over medium heat for about 4–6 minutes, until it is golden and smells nutty. Take it off the heat and immediately whisk in the cocoa powder, salt, and espresso powder.
- Whisk in the granulated sugar and brown sugar, then let the mixture cool for about 5 minutes.
- Add the vanilla. Whisk in the whole eggs one at a time, then add the extra yolk. Keep whisking for about 2–3 minutes, until the mixture looks thick and glossy.
- Gently fold in the flour and cornstarch just until there are no dry streaks. Do not overmix.
- Let the batter rest for 15 minutes, then spread it into the prepared pan.
- Bake for about 20–22 minutes. Let the brownies cool completely.
- Heat the heavy cream until it is steaming, about 30 seconds in the microwave. Pour it over the chopped chocolate and let it sit for 1 minute.
- Add the butter, corn syrup, and salt, then stir until the ganache is smooth and glossy.
- Lift the brownie slab out of the pan and flip it upside down onto the lid of a cake pan. Peel away the parchment and spread the ganache over what was originally the bottom.
- Add the rainbow chips while the ganache is still soft, lock the cake pan over the top, then refrigerate the brownies for 1–2 hours. Cut with a sharp knife, wiping the blade between cuts.
notes
- The brownies usually spend their first night in the refrigerator, completely uncut, so the ganache has plenty of time to set.
- The 20–22-minute bake time is for an 8×8-inch pan. Pullman-pan timing changes with the size of the pan and the depth of the batter.
why these stay fudgy
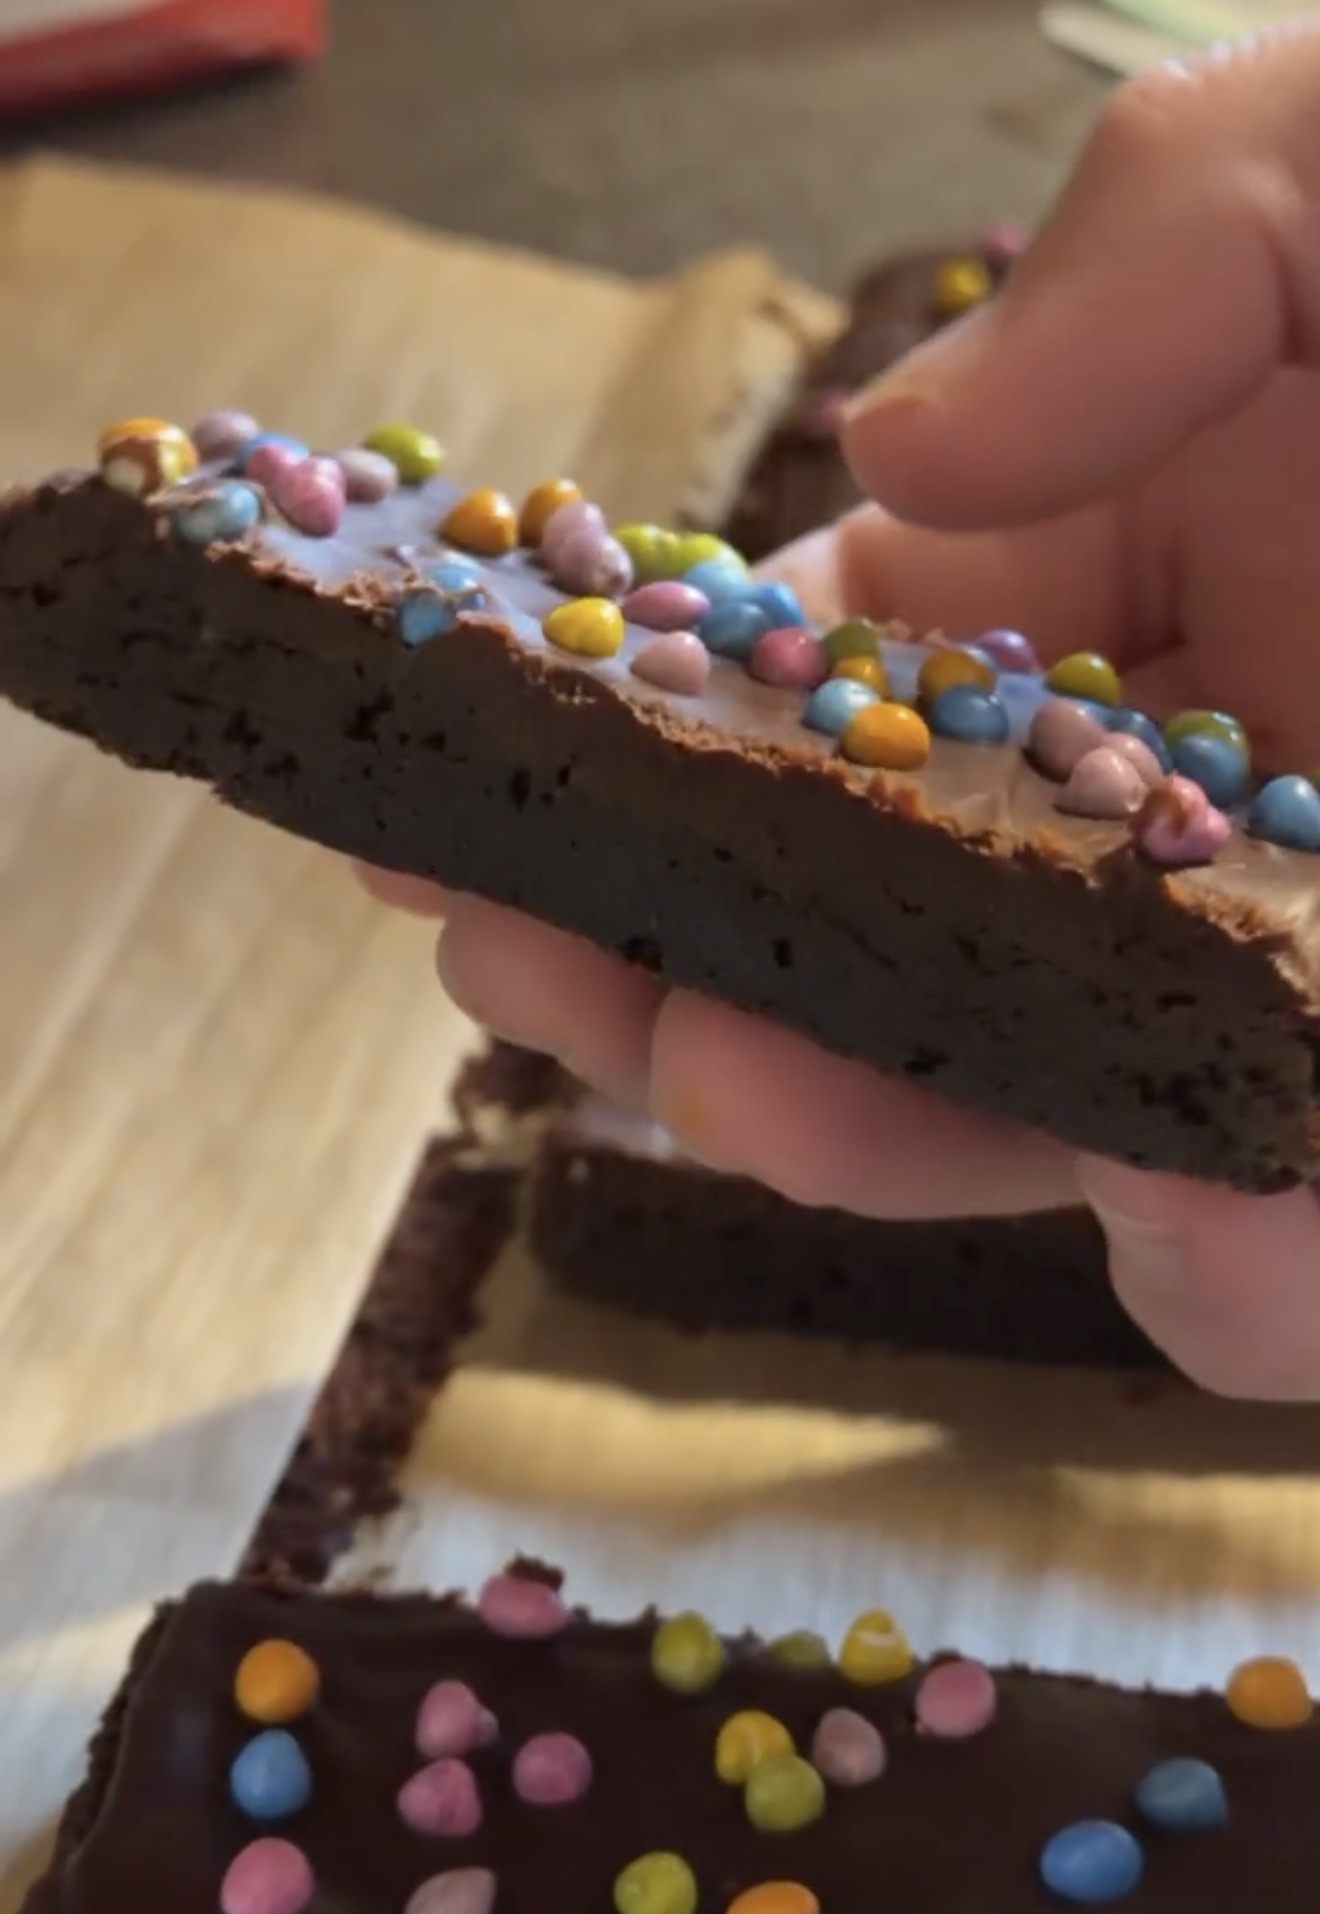
i wanted these to be dense and chewy, not light and cakey. and after testing a few versions, i finally got the texture i was looking for.
one thing i’ve learned is that they don’t need a long time in the oven. when i’m using my pullman pan, i start checking around 14 minutes, and they’re usually ready within another minute or so.
i’m not pulling them out while the center is still jiggling. they’re fully baked when i take them out, just not baked to the point of being dry.
and that makes a pretty big difference when you’re trying to get that dense, fudgy brownie texture.
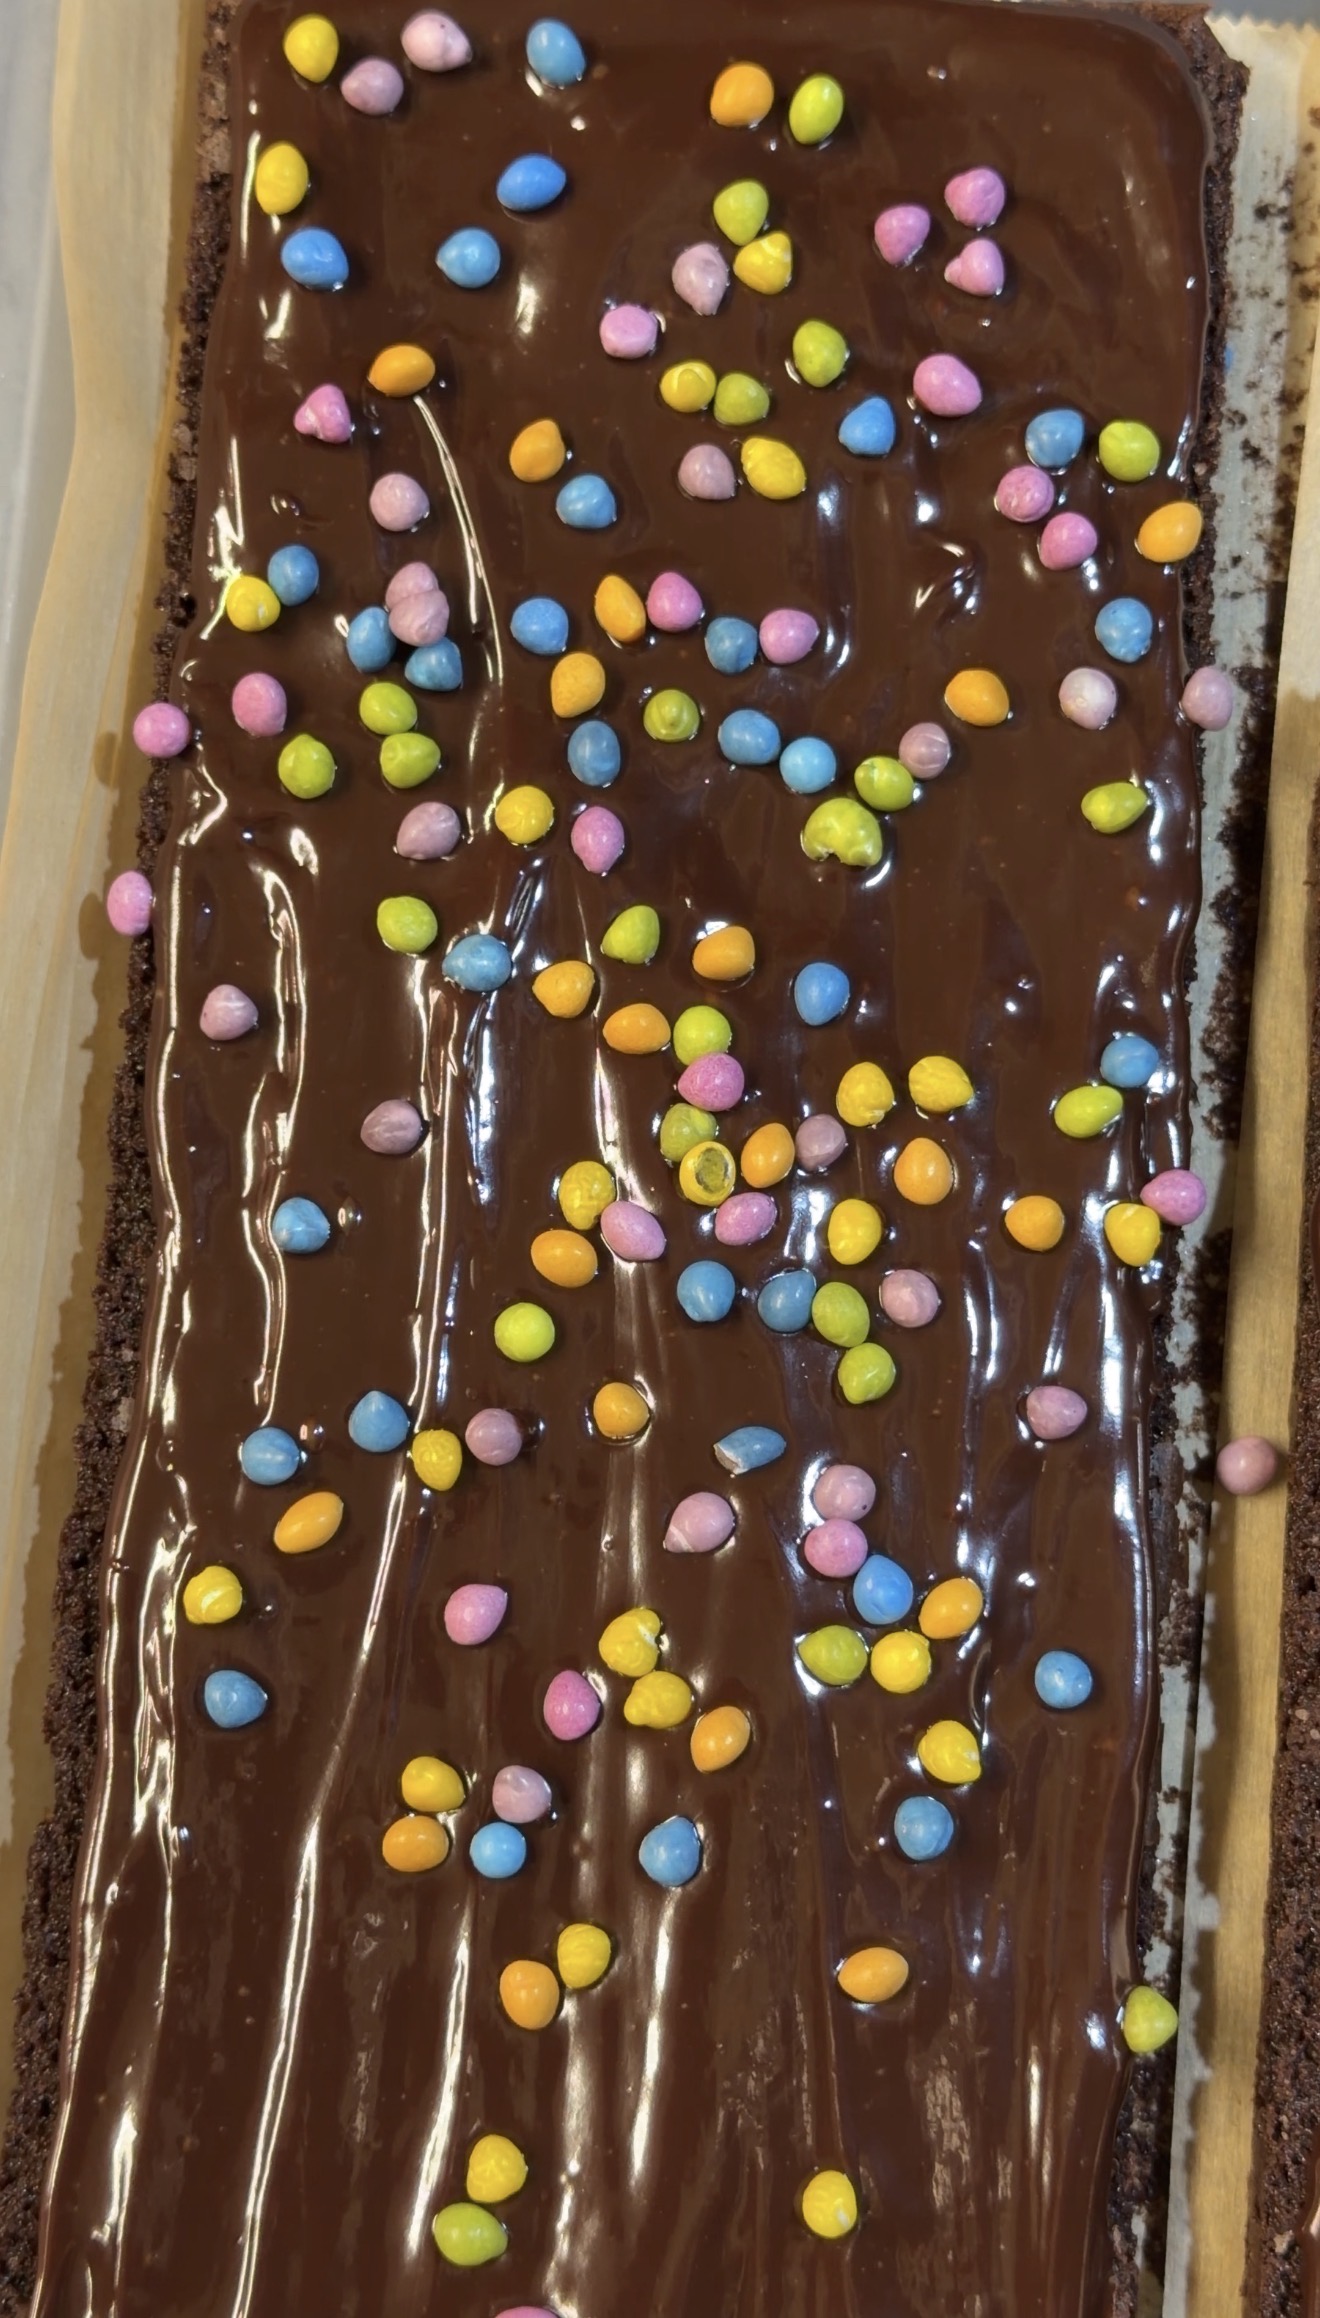
the upside-down ganache trick
this is one of those little things i figured out while making these that actually makes the whole process easier.
i flip the brownies upside down before adding the ganache. that gives me a nice, flat surface to work with.
but here’s the other part: i put the brownies on the lid of my cake pan.
the lid has really low edges, which makes it so much easier to spread the ganache evenly without fighting the sides of a regular pan.
once i’ve got the ganache spread and the rainbow chips added, i just lock the cake pan over the top and slide the whole thing into the fridge to set.
no transferring a freshly frosted batch of brownies from one container to another. and the ganache has plenty of time to firm up before i cut them.
choosing a pan
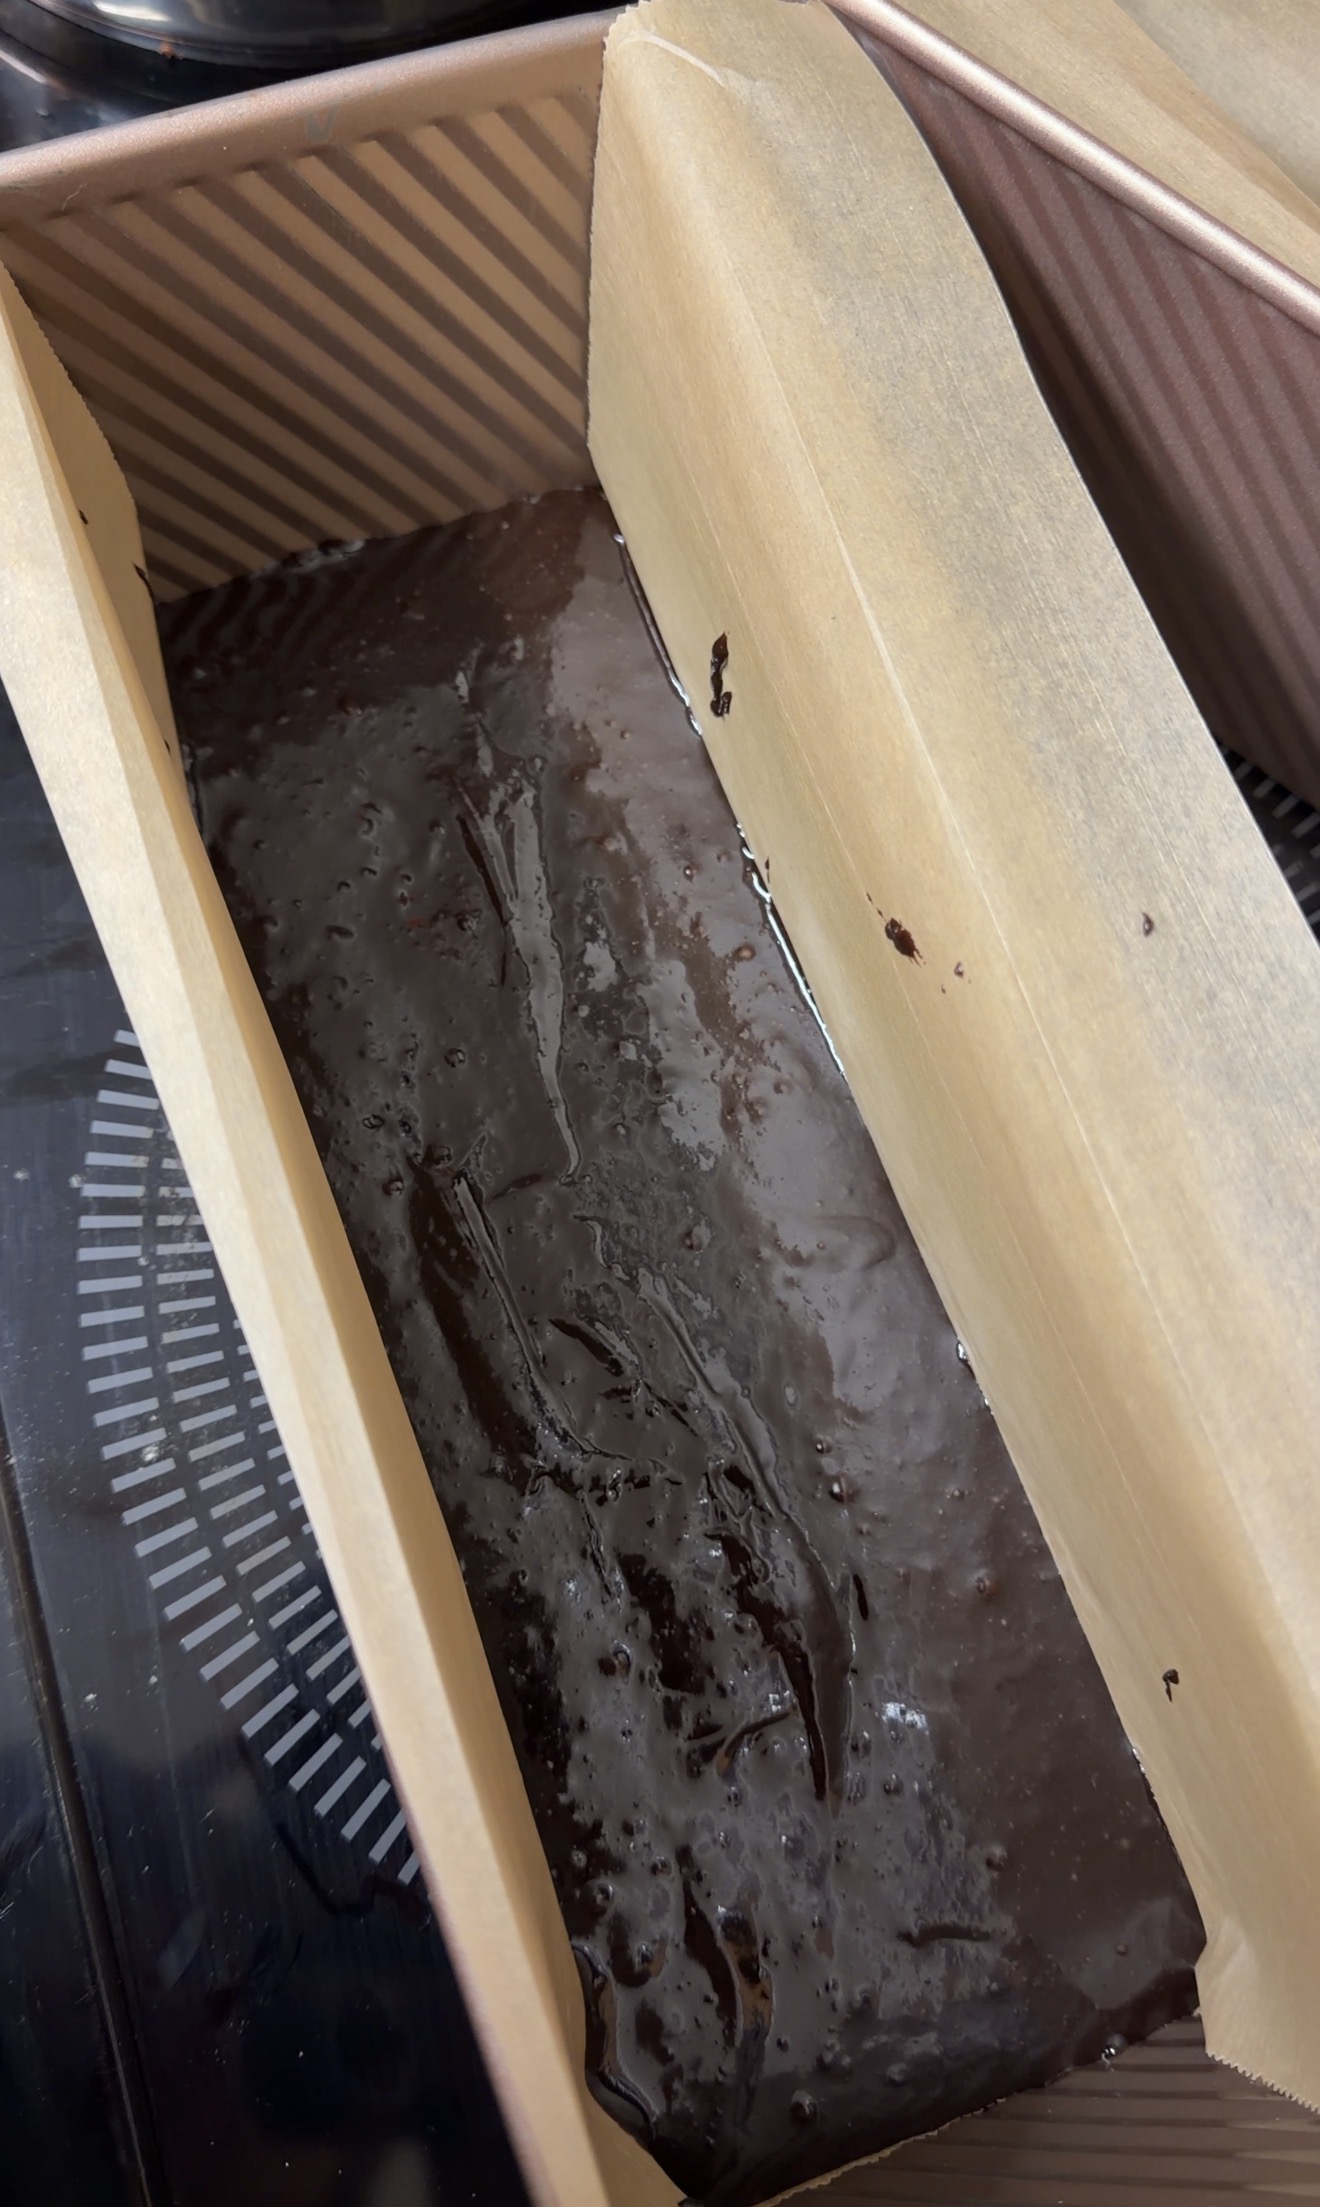
The recipe is tested in an 8×8-inch pan at 350°F for about 20–22 minutes. Now for the slightly ridiculous part: I do not actually own an 8×8 pan.
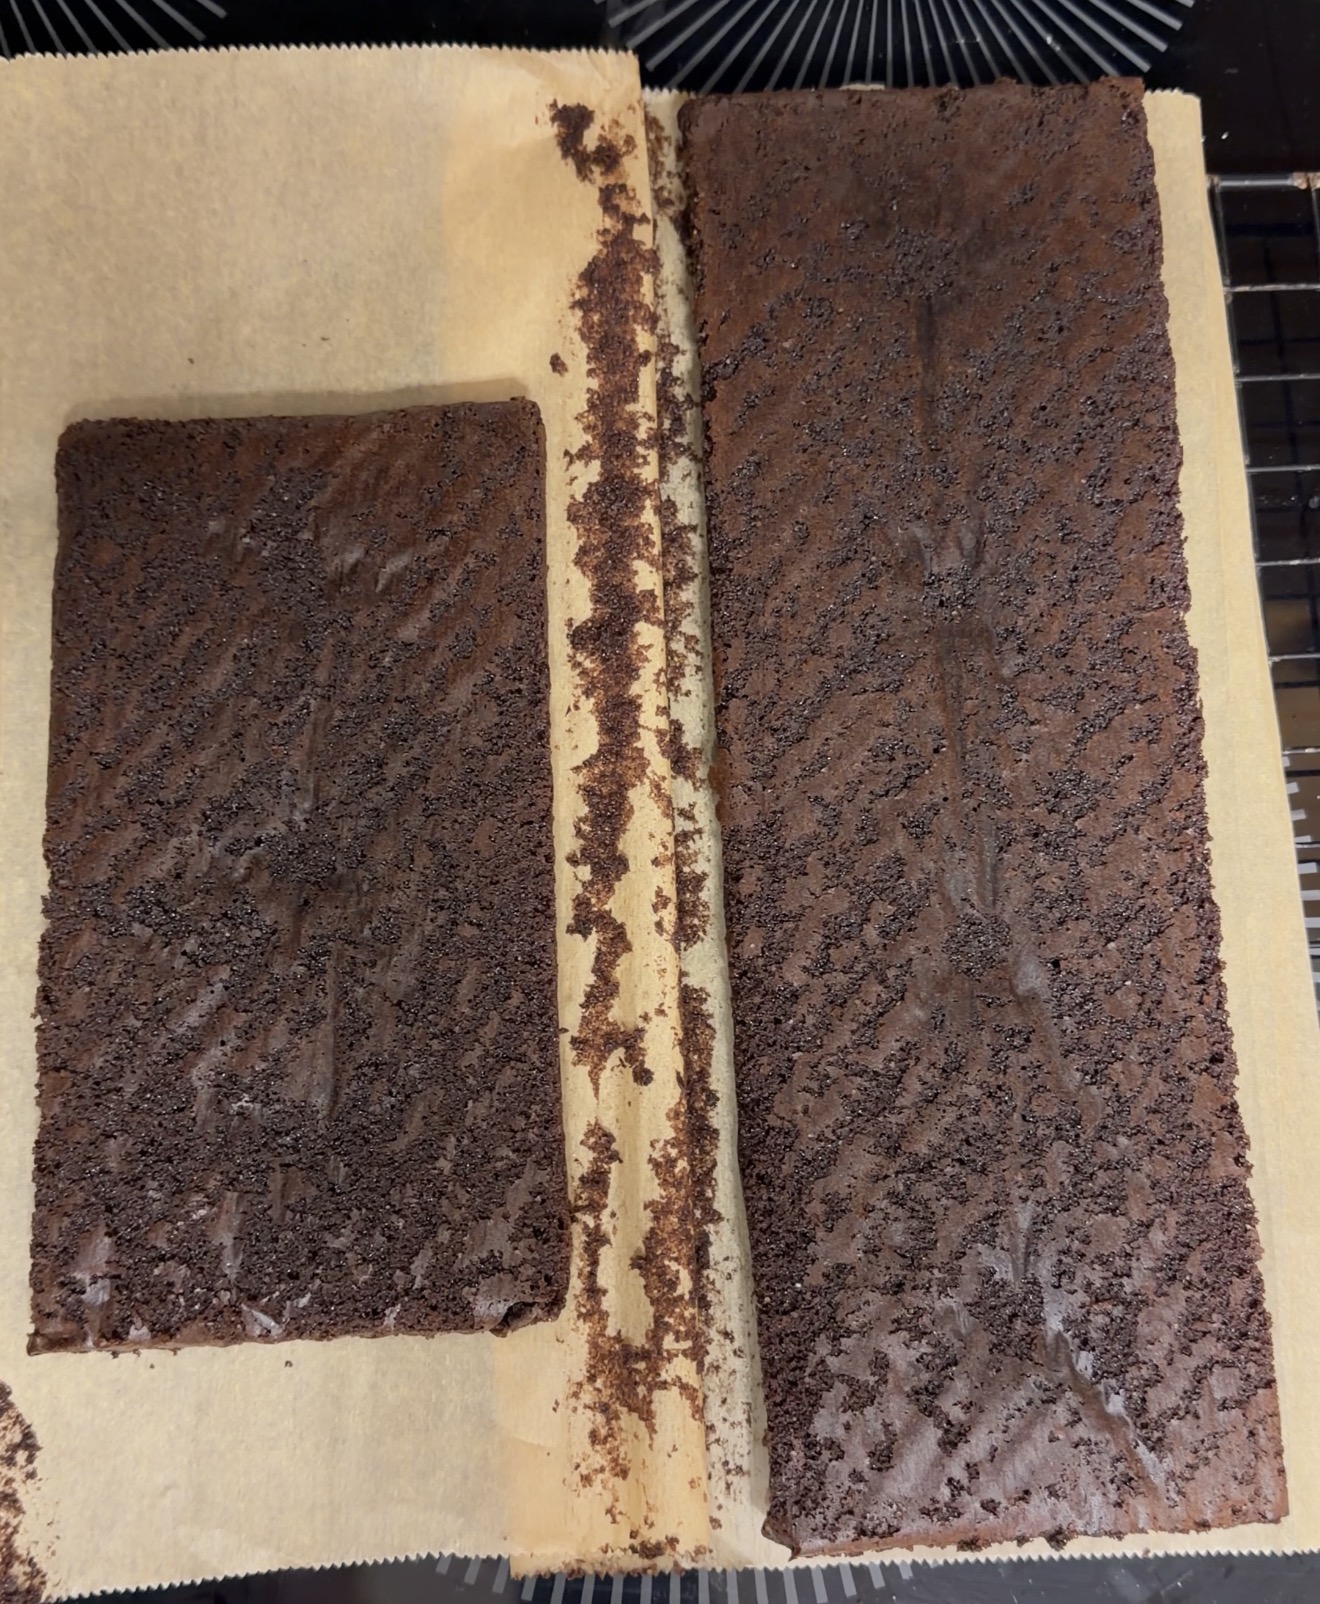
I use Pullman loaf pans because I like the long shape and straight edges. I have made these in both my 2.2-pound and 1-pound pans. Both work, but they do not bake in the same amount of time because the batter sits at a different depth in each one.
If your Pullman pan has steam holes in the bottom, line it really well with parchment. Otherwise, the batter will find those holes. Leave some parchment hanging over the long sides too. That is how I lift the whole slab out once it is cool.
how i store and freeze them
these usually spend their first night in the fridge, completely uncut. i like giving the ganache plenty of time to set before slicing them.
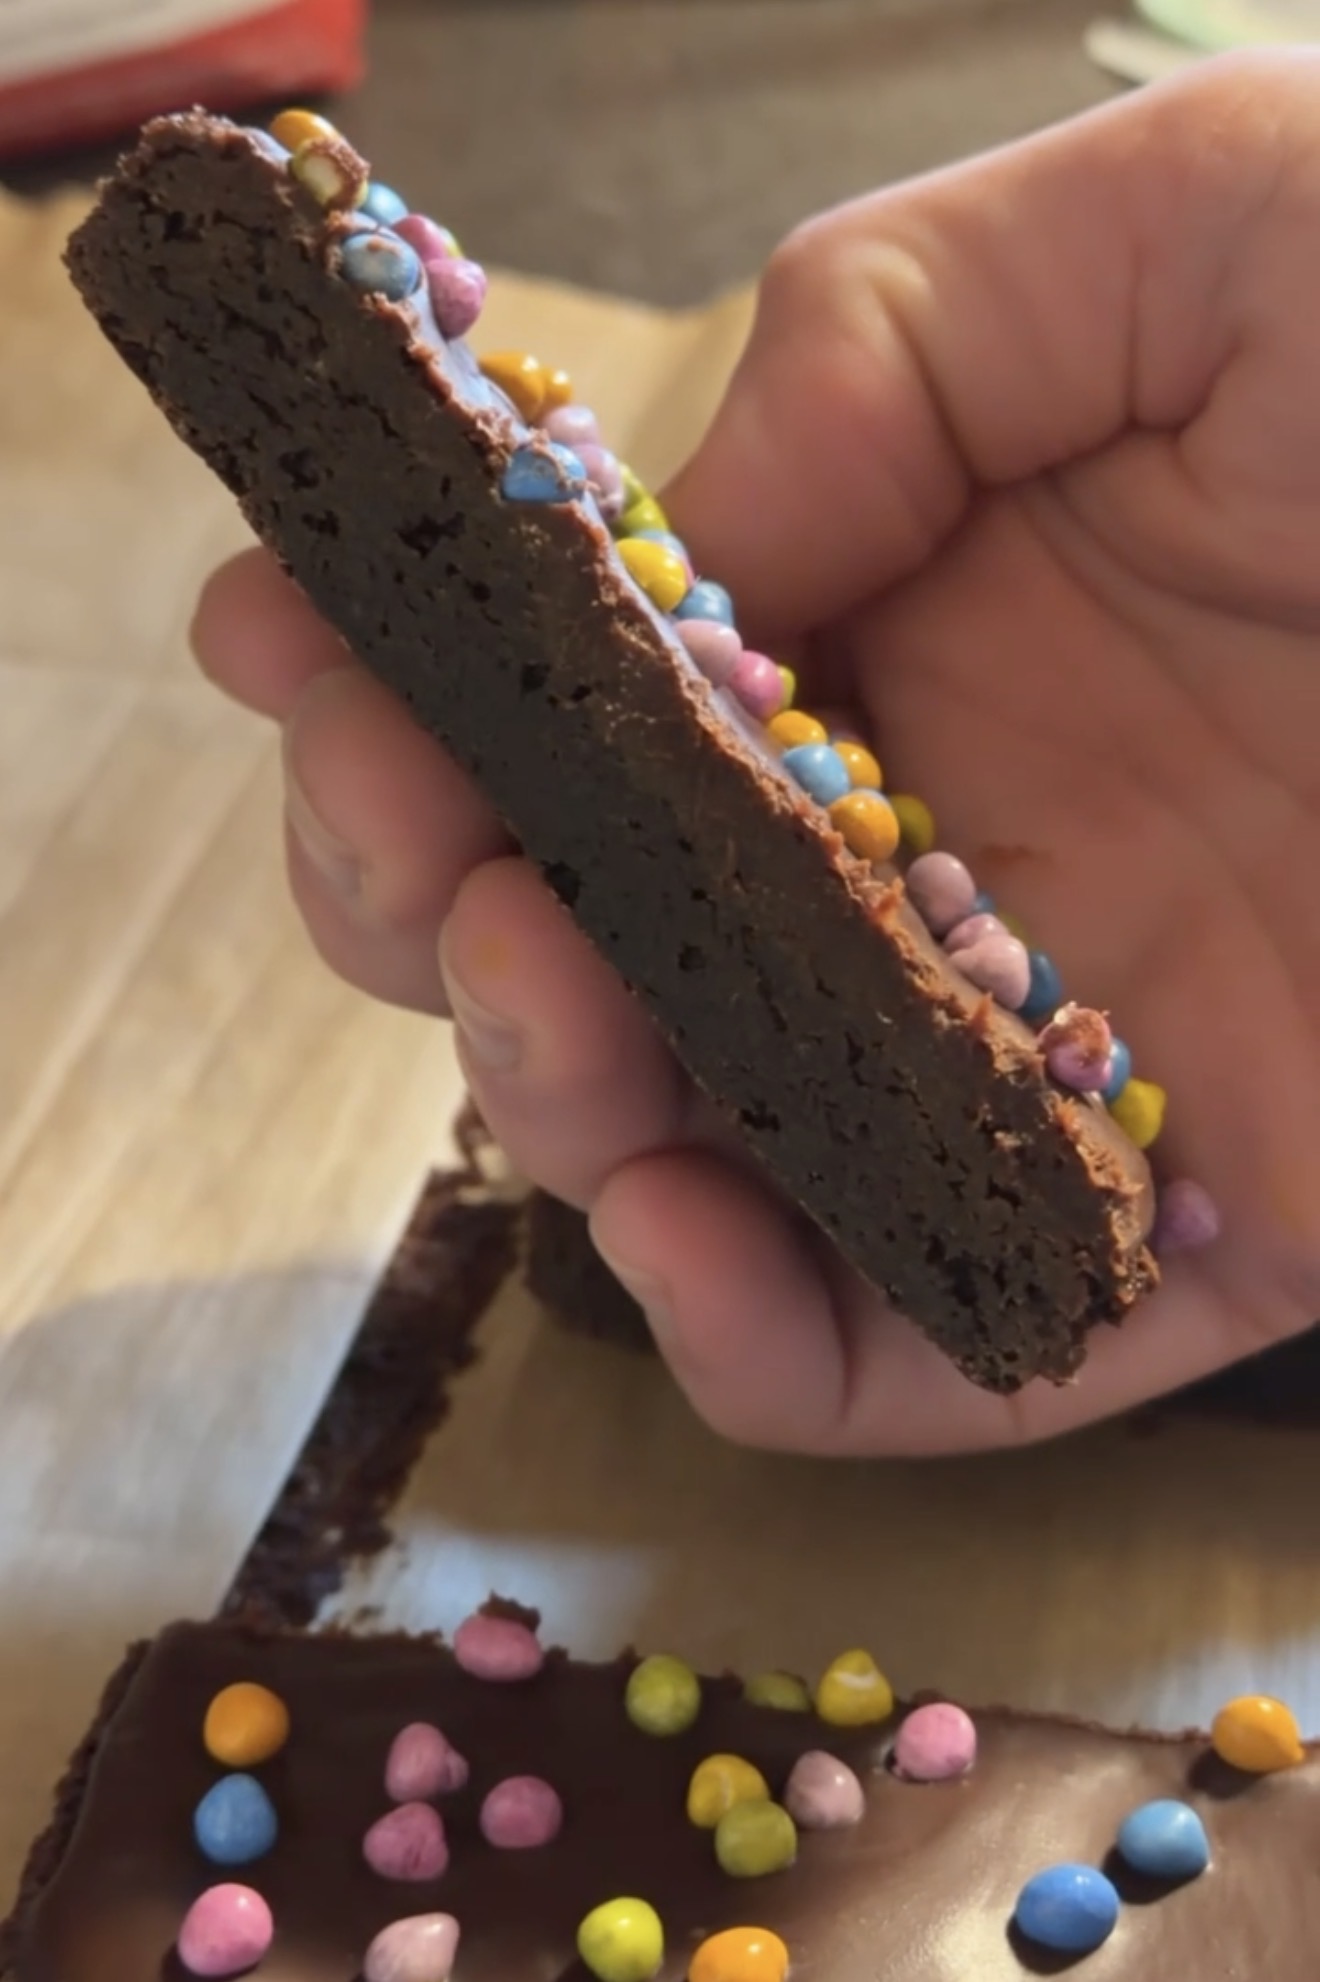
once they’re ready, i cut them into individual brownies, keep some in the refrigerator, and heat-seal about half the batch in individual portions for the freezer.
the ones in the fridge usually disappear first, but my kids have absolutely no problem eating them straight out of the freezer either. 😂
and if i’m packing one in a lunchbox, i just throw it in frozen. by lunchtime, it’s thawed and ready to eat.
as far as how long they last in the refrigerator, i genuinely couldn’t tell you beyond a week. they’ve never made it any longer than that in our house.
i haven’t tested their maximum freezer storage time yet, either.
FAQ
can i leave out the espresso powder?
You can. They do not taste like coffee with it in there. It just makes the chocolate taste a little deeper. I would keep it, but the recipe will still work without it.
do you freeze them with the ganache on?
Yes. I freeze them completely finished—ganache, rainbow chips, all of it. I want to pull one out and be done.
do i need a Pullman pan?
No. Use an 8×8 pan if you have one. The Pullman notes are only here because that is what I actually own and use.
the rooted pantry verdict: MAKE + STOCK
this one’s an easy make + stock for us.
the kids love them, i get to choose what goes into them, and i can tuck half the batch into the freezer instead of having to make something every time we want a treat.
plus, i really do think they’re better than the boxed version. so that’s a pretty easy decision. 😂
keep growing the rooted pantry
We’re figuring out what is worth making at home—and what can stay at the grocery store.