
Tiny freezer-friendly cinnamon rolls with brown butter glaze
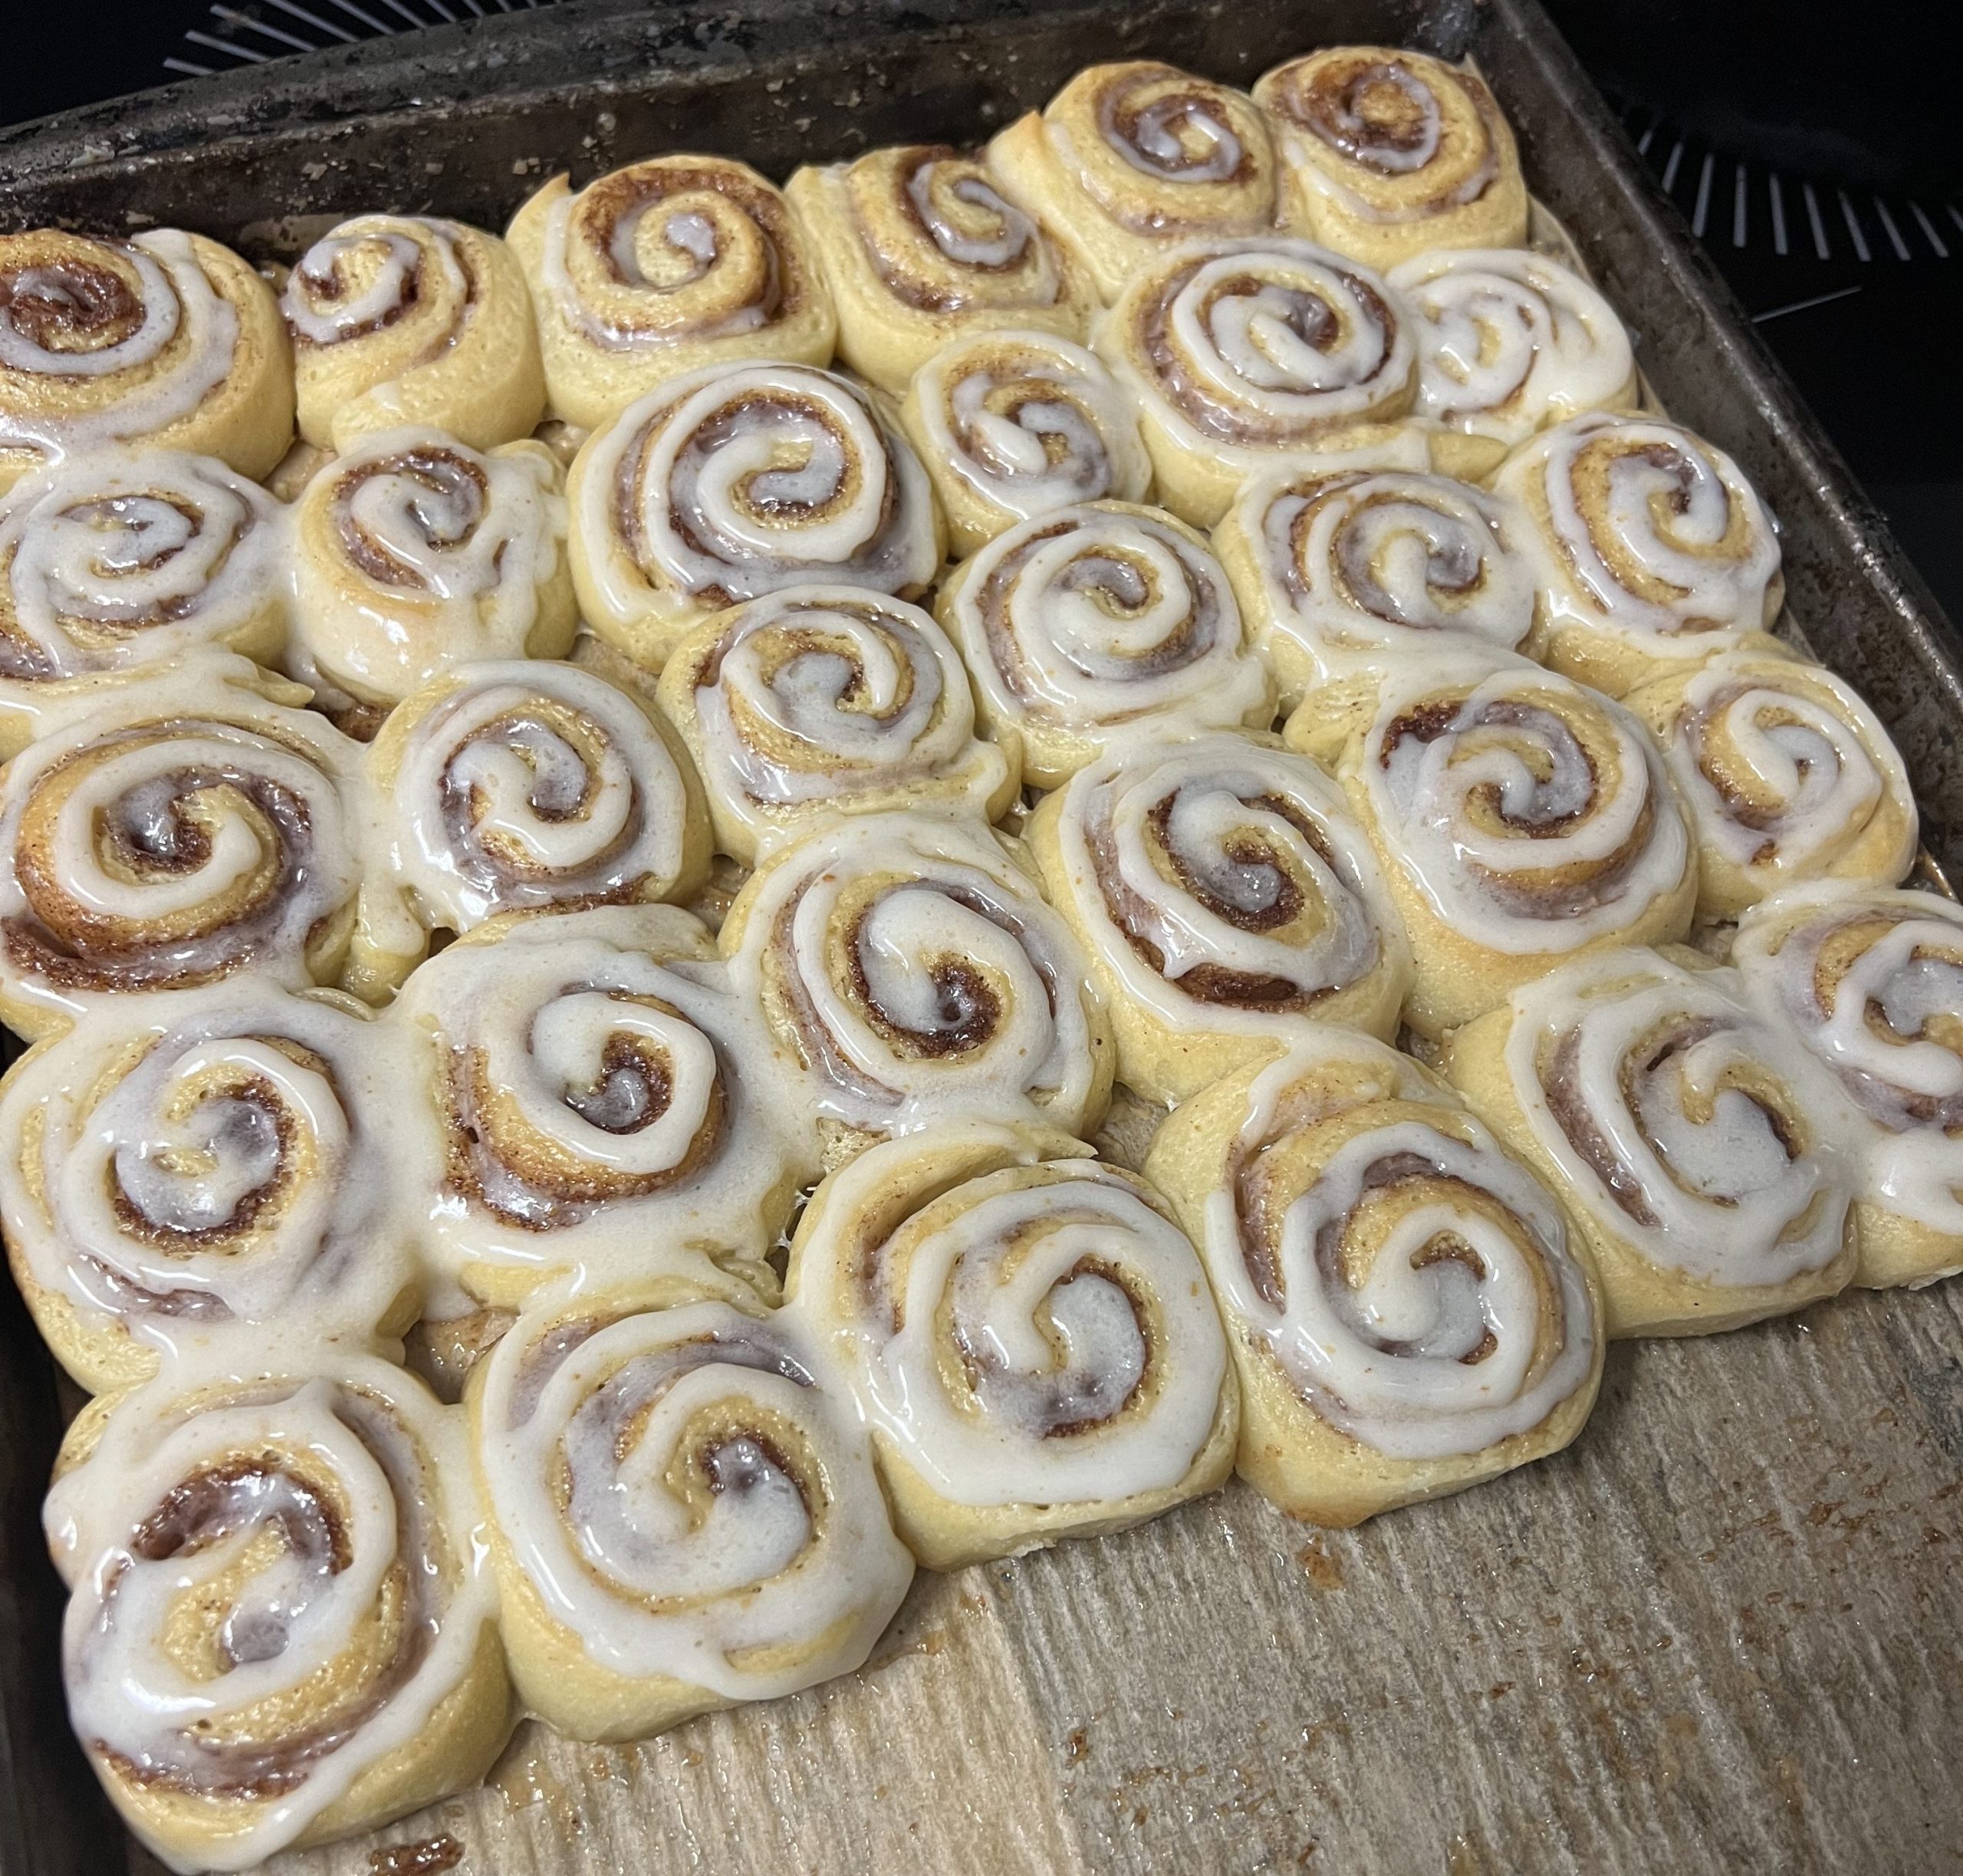
These silver-dollar mini cinnamon rolls are soft, about two inches across, and made for eating a few now and freezing the rest. They bake together on one big sheet pan—but they pull apart ridiculously well.
part of the rooted pantry project
- size
- about two inches across
- how i stock them
- packs sized for our breakfasts; glaze frozen separately
- family favorite
- breakfast for dinner and freezer mornings
quick note: this post may contain affiliate links. if you buy through them, i may earn a small commission at no extra cost to you. i only share things i actually use or would recommend.
Why I started making mini cinnamon rolls
Full-size cinnamon rolls are kind of a commitment. They’re great fresh, but we’d end up with a few left sitting around, already covered in glaze, and nobody really wanted them the next day.
I wanted something smaller that we could eat fresh for dinner and use to stock the freezer at the same time—something the kids could grab a few of, something I could freeze in small portions, and something that would still taste like an actual fresh cinnamon roll when we pulled it back out.
After testing the size, the filling, the freezing method, and probably a few other things no normal person needed to test this extensively, these are what stuck.
The first batch was definitely not silver-dollar
My first attempt at making them smaller was basically me trying to outsmart geometry.
I rolled the dough out longer, made one big log, and figured that would somehow give me tiny cinnamon rolls.
It did not.
They ended up more like regular store-bought cinnamon roll size—smaller than a giant bakery cinnamon roll, but definitely not the little rolls I had in mind.
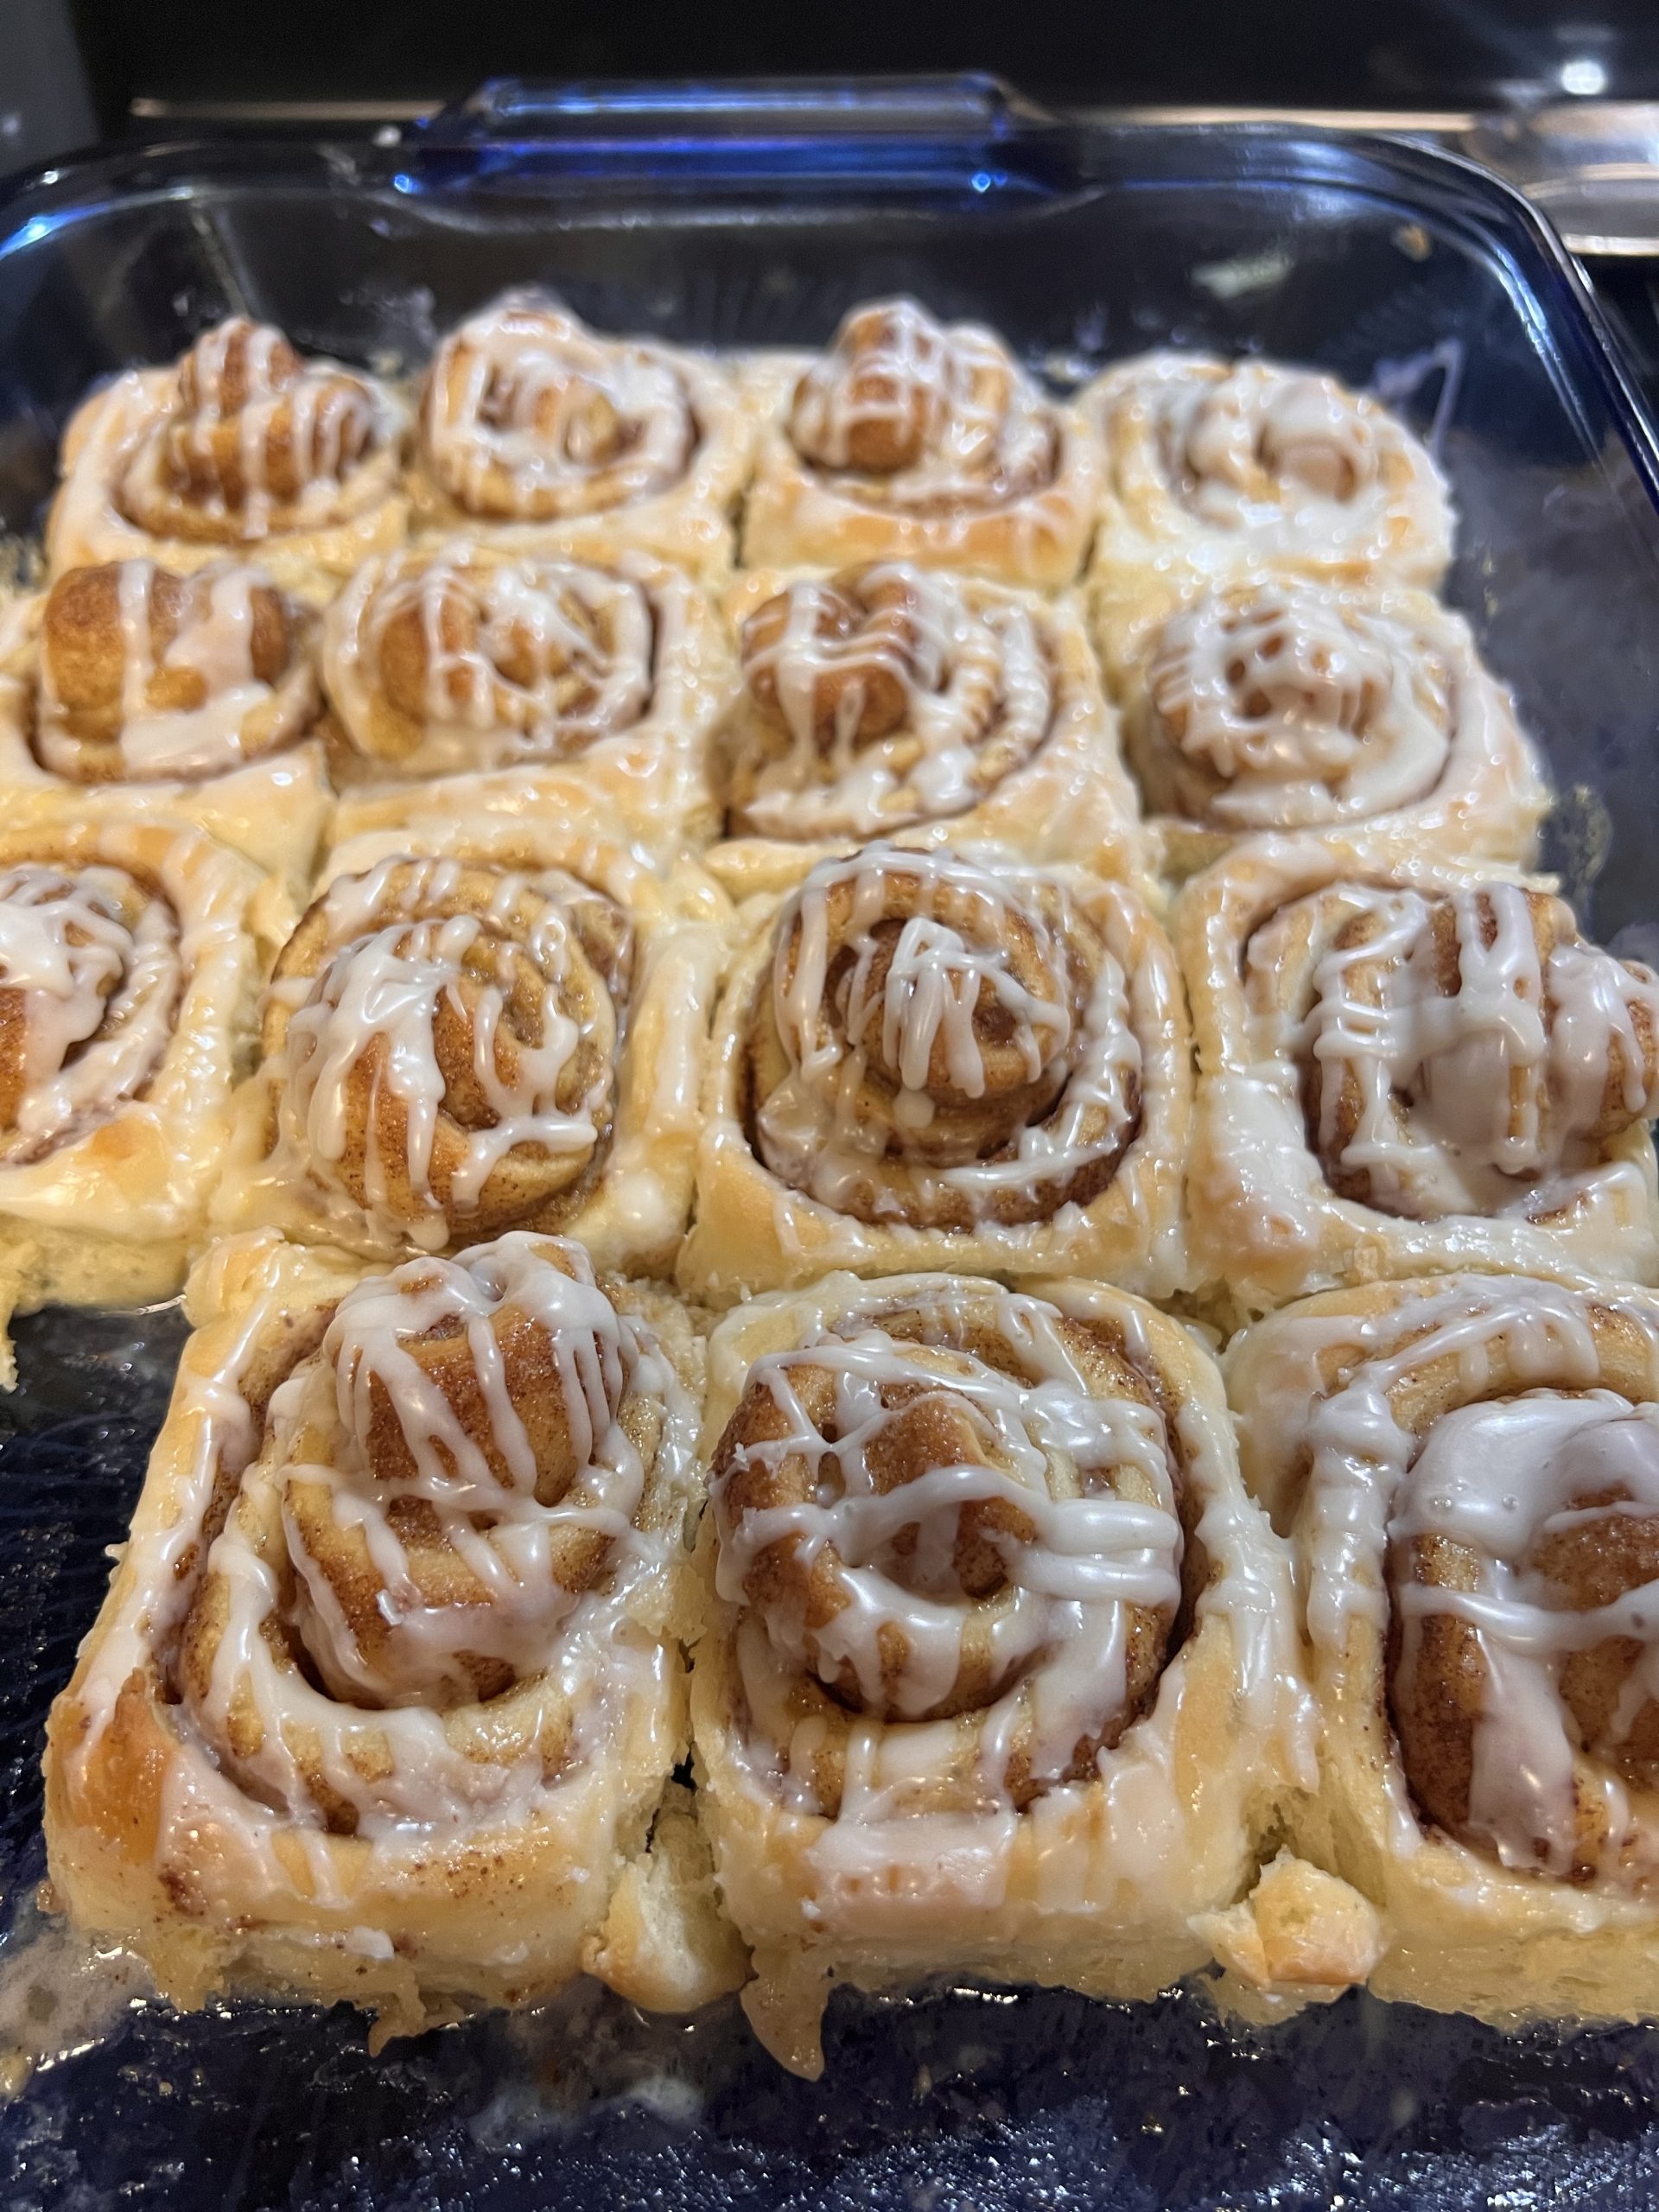
Two skinny logs instead of one fat one turned out to be the difference. The center-outward rolling method is below.
Butter first. Always.
I also tested mixing the butter, brown sugar, cinnamon, vanilla, salt, and nutmeg into one spreadable paste.
It worked. I just didn’t like the result nearly as much.
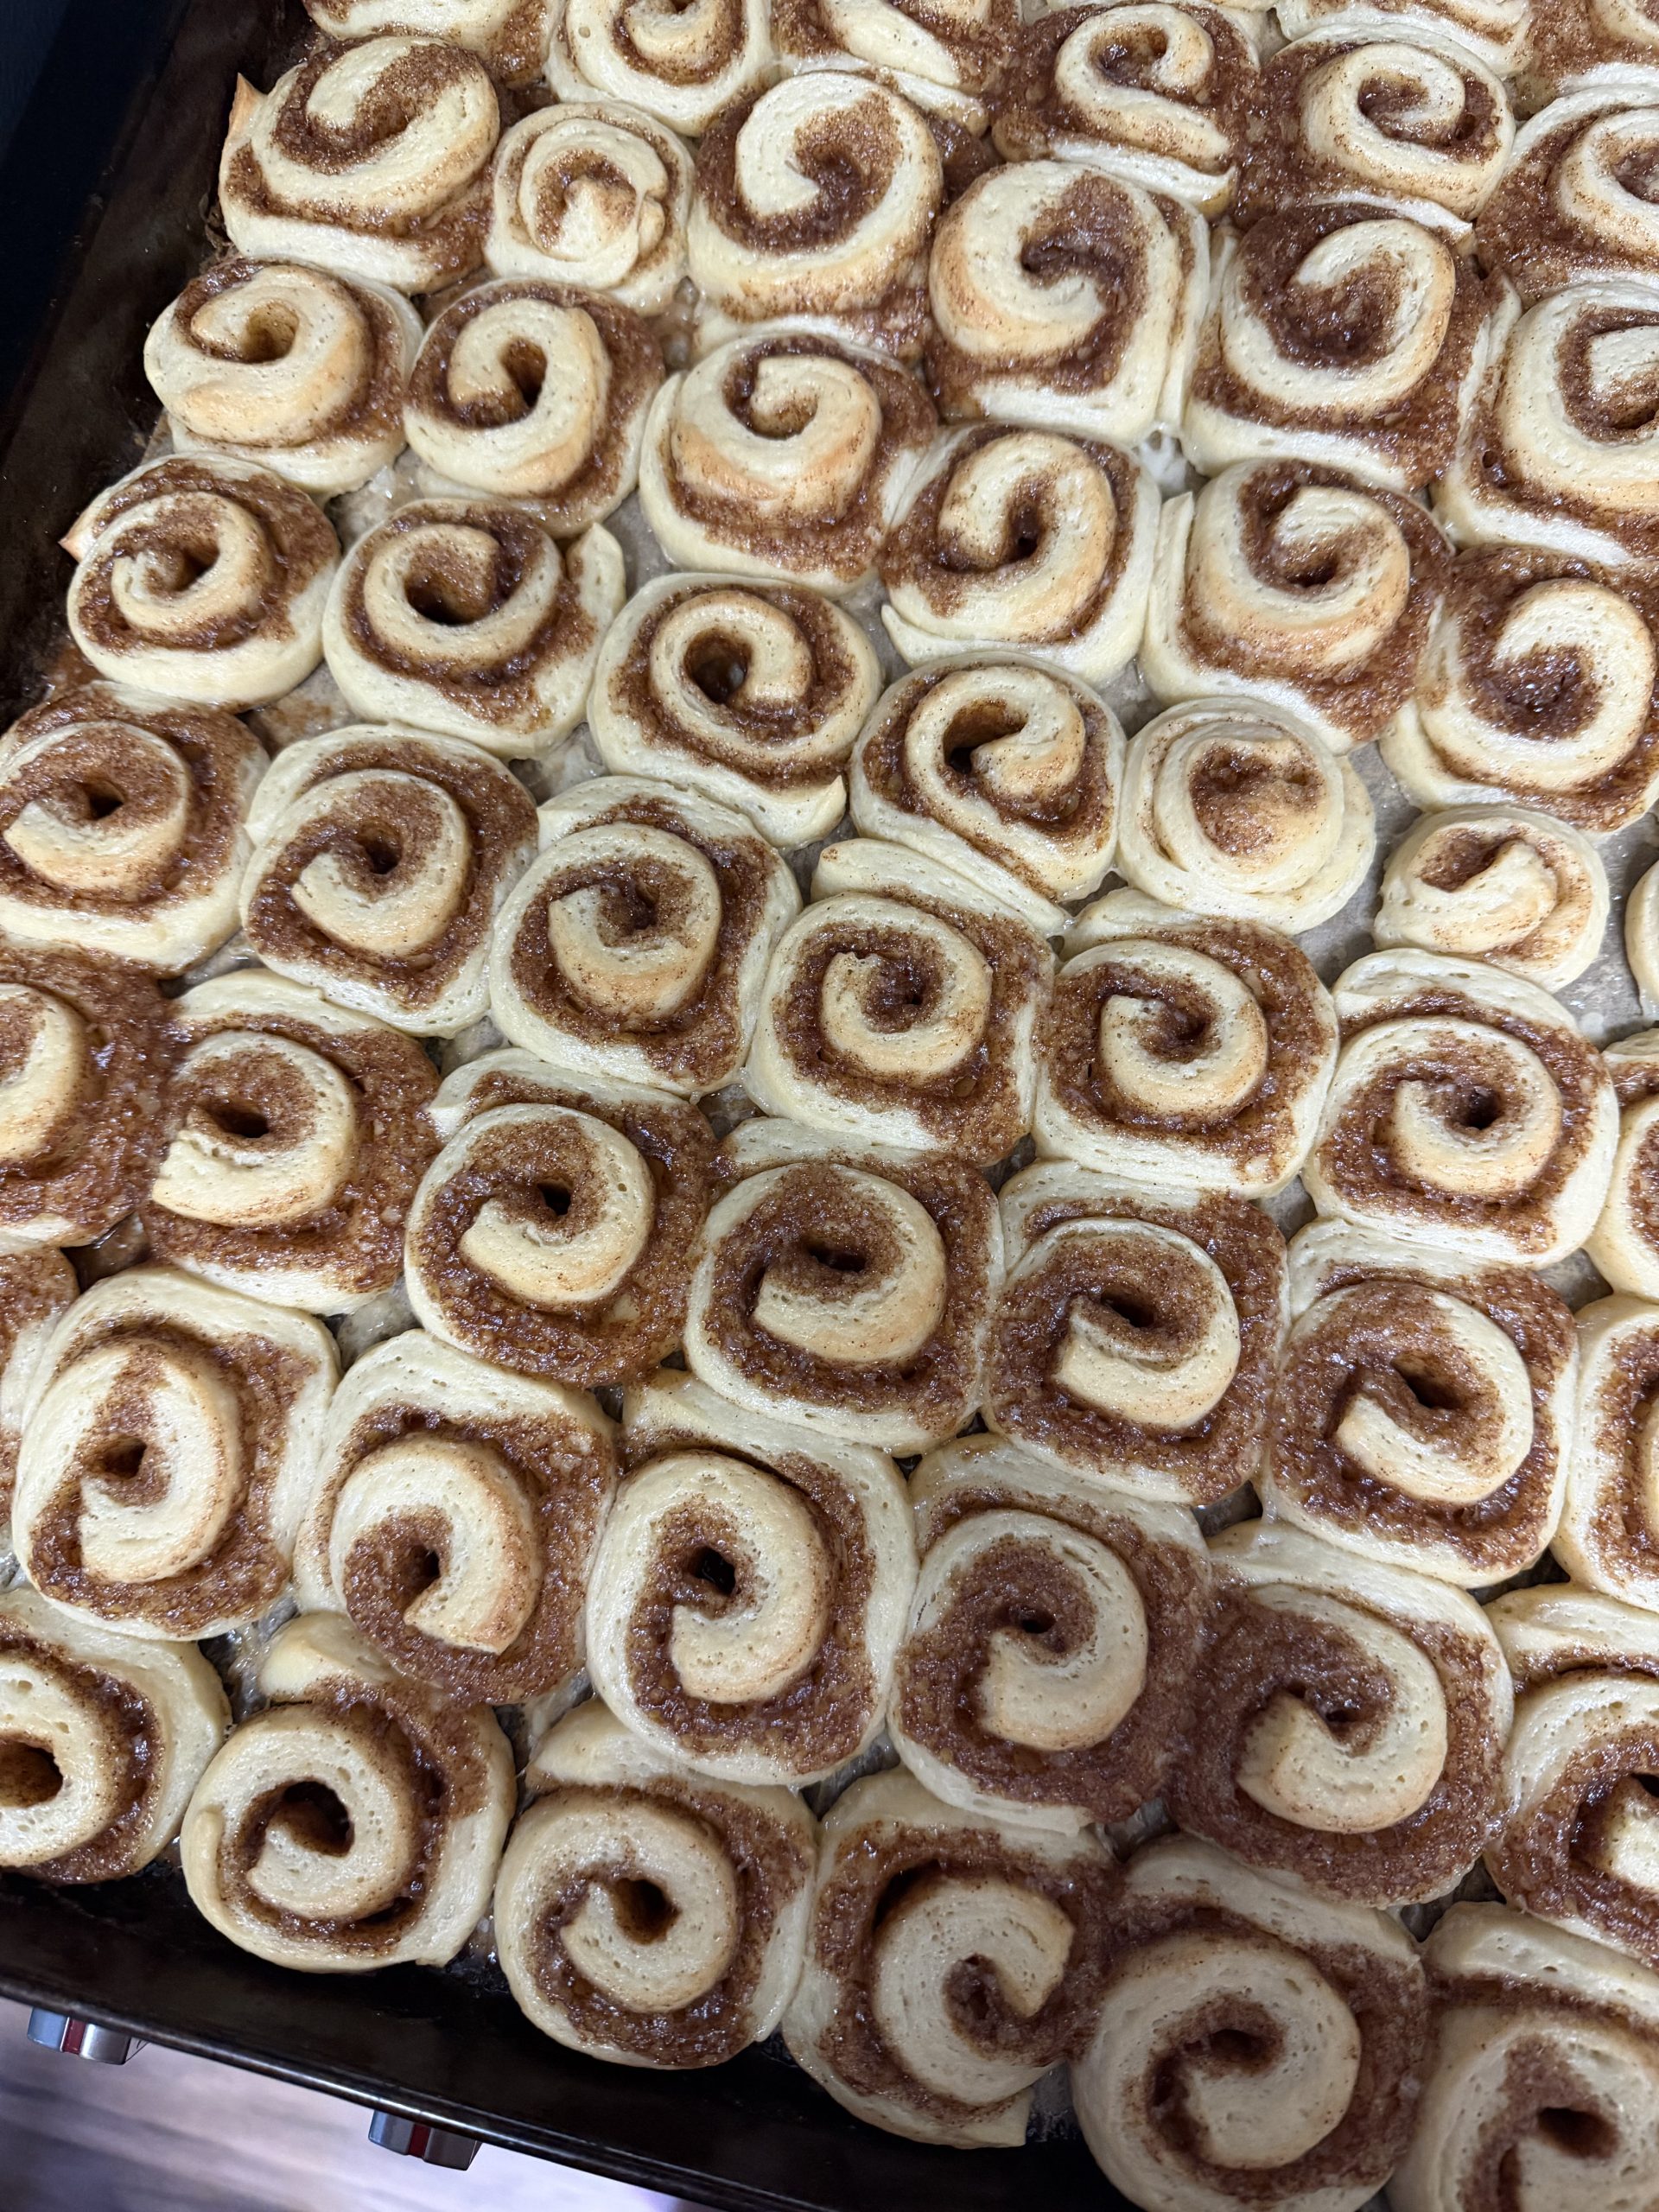
Spreading the butter first and the cinnamon-sugar mixture second gave me more distinct layers. The rolls held their shape better, and I liked the finished result much more.
silver-dollar mini cinnamon rolls
Makes: approximately 70–75 mini rolls
Dough
- 240 g warm milk, about 105–110°F
- 7 g active dry yeast
- 65 g sugar
- 115 g butter, melted
- 2 large eggs, about 100 g without shells
- 6 g salt
- 540–570 g all-purpose flour
- 5 g vanilla extract
Filling
- 175 g softened butter
- 225 g brown sugar
- 9 g cinnamon
- 3 g salt
- 8 g vanilla
- Pinch of nutmeg
Before baking
- About ½ cup heavy cream
Brown butter glaze
- 300 g powdered sugar
- 45 g heavy cream
- 30 g milk
- 15 g light corn syrup
- 1 teaspoon vanilla
- Pinch of salt
- 30–45 g browned butter, cooled slightly but still pourable
1. make the dough
Warm the milk to about 105–110°F. Stir in the yeast and sugar and let it sit for about 5–10 minutes, until the yeast looks foamy.
Add the melted butter, eggs, vanilla, and salt. Mix in 540 g of flour.
If the dough is still very wet, add more flour a little at a time. You’re looking for a soft dough that may still feel slightly tacky—not a stiff, dry dough.
Knead until smooth. Let the dough rest for about 10–15 minutes, then knead it again briefly. Cover and let rise until roughly doubled.
2. shape the mini rolls
Roll the dough into one large rectangle, roughly 4–5 mm thick. Spread the softened butter evenly over the dough.
In a separate bowl, mix together the brown sugar, cinnamon, salt, vanilla, and nutmeg. Spread that mixture evenly over the butter.
Now cut the entire rectangle lengthwise down the middle.
Starting from that freshly cut center edge, roll each half outward toward the long outside edge. You’ll end up with two skinny cinnamon-roll logs instead of one giant one.
Cut the logs into roughly ¾-inch slices.
Use floss. Trust me. I started out cutting these with fishing line. But then I tried unflavored dental floss, and it is so much easier.
Slide the floss underneath the log, cross the ends over the top, and pull. It slices straight through without smashing the spiral.
A knife will technically work too, but after doing all that work to make tiny cinnamon rolls, I’m not flattening them now.
3. let them rise, then brush with cream
I bake these on a 15 × 21-inch rimmed sheet pan. Arrange the rolls across the pan with a little space between them, then cover and let them rise until they’re puffy and starting to touch.
My last row is usually only partially filled, so don’t panic if you don’t have a perfectly packed sheet pan.
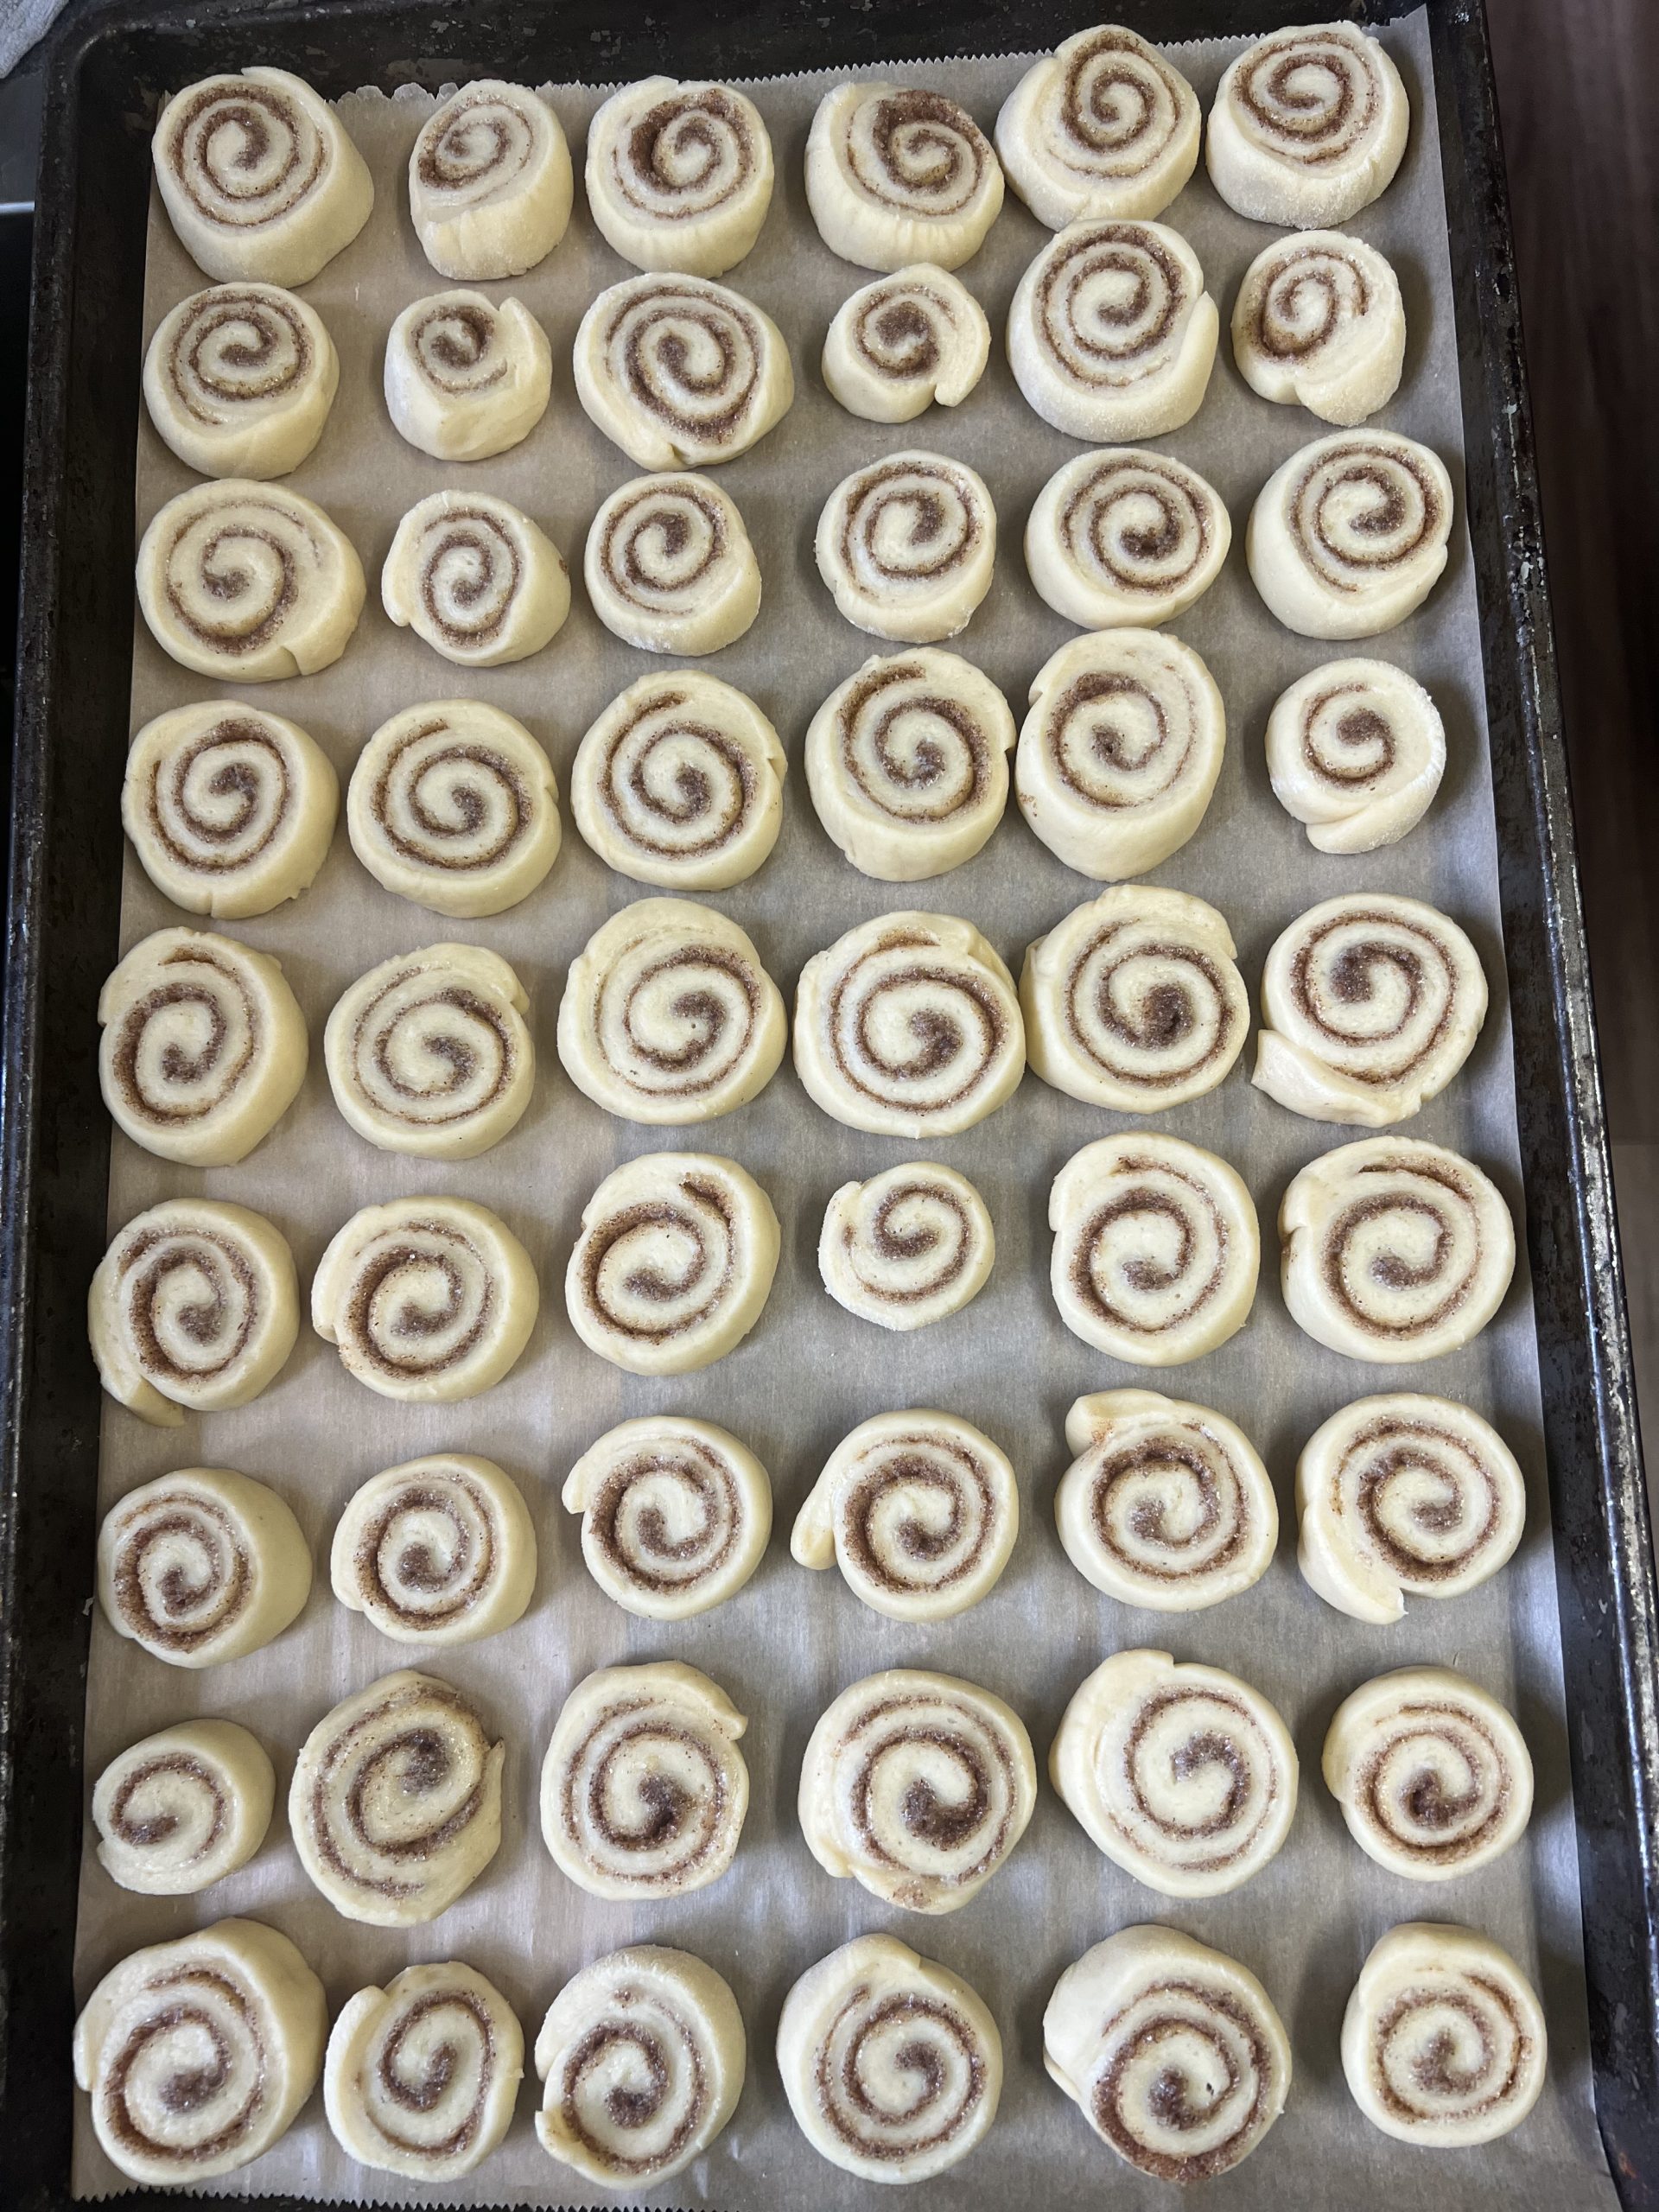
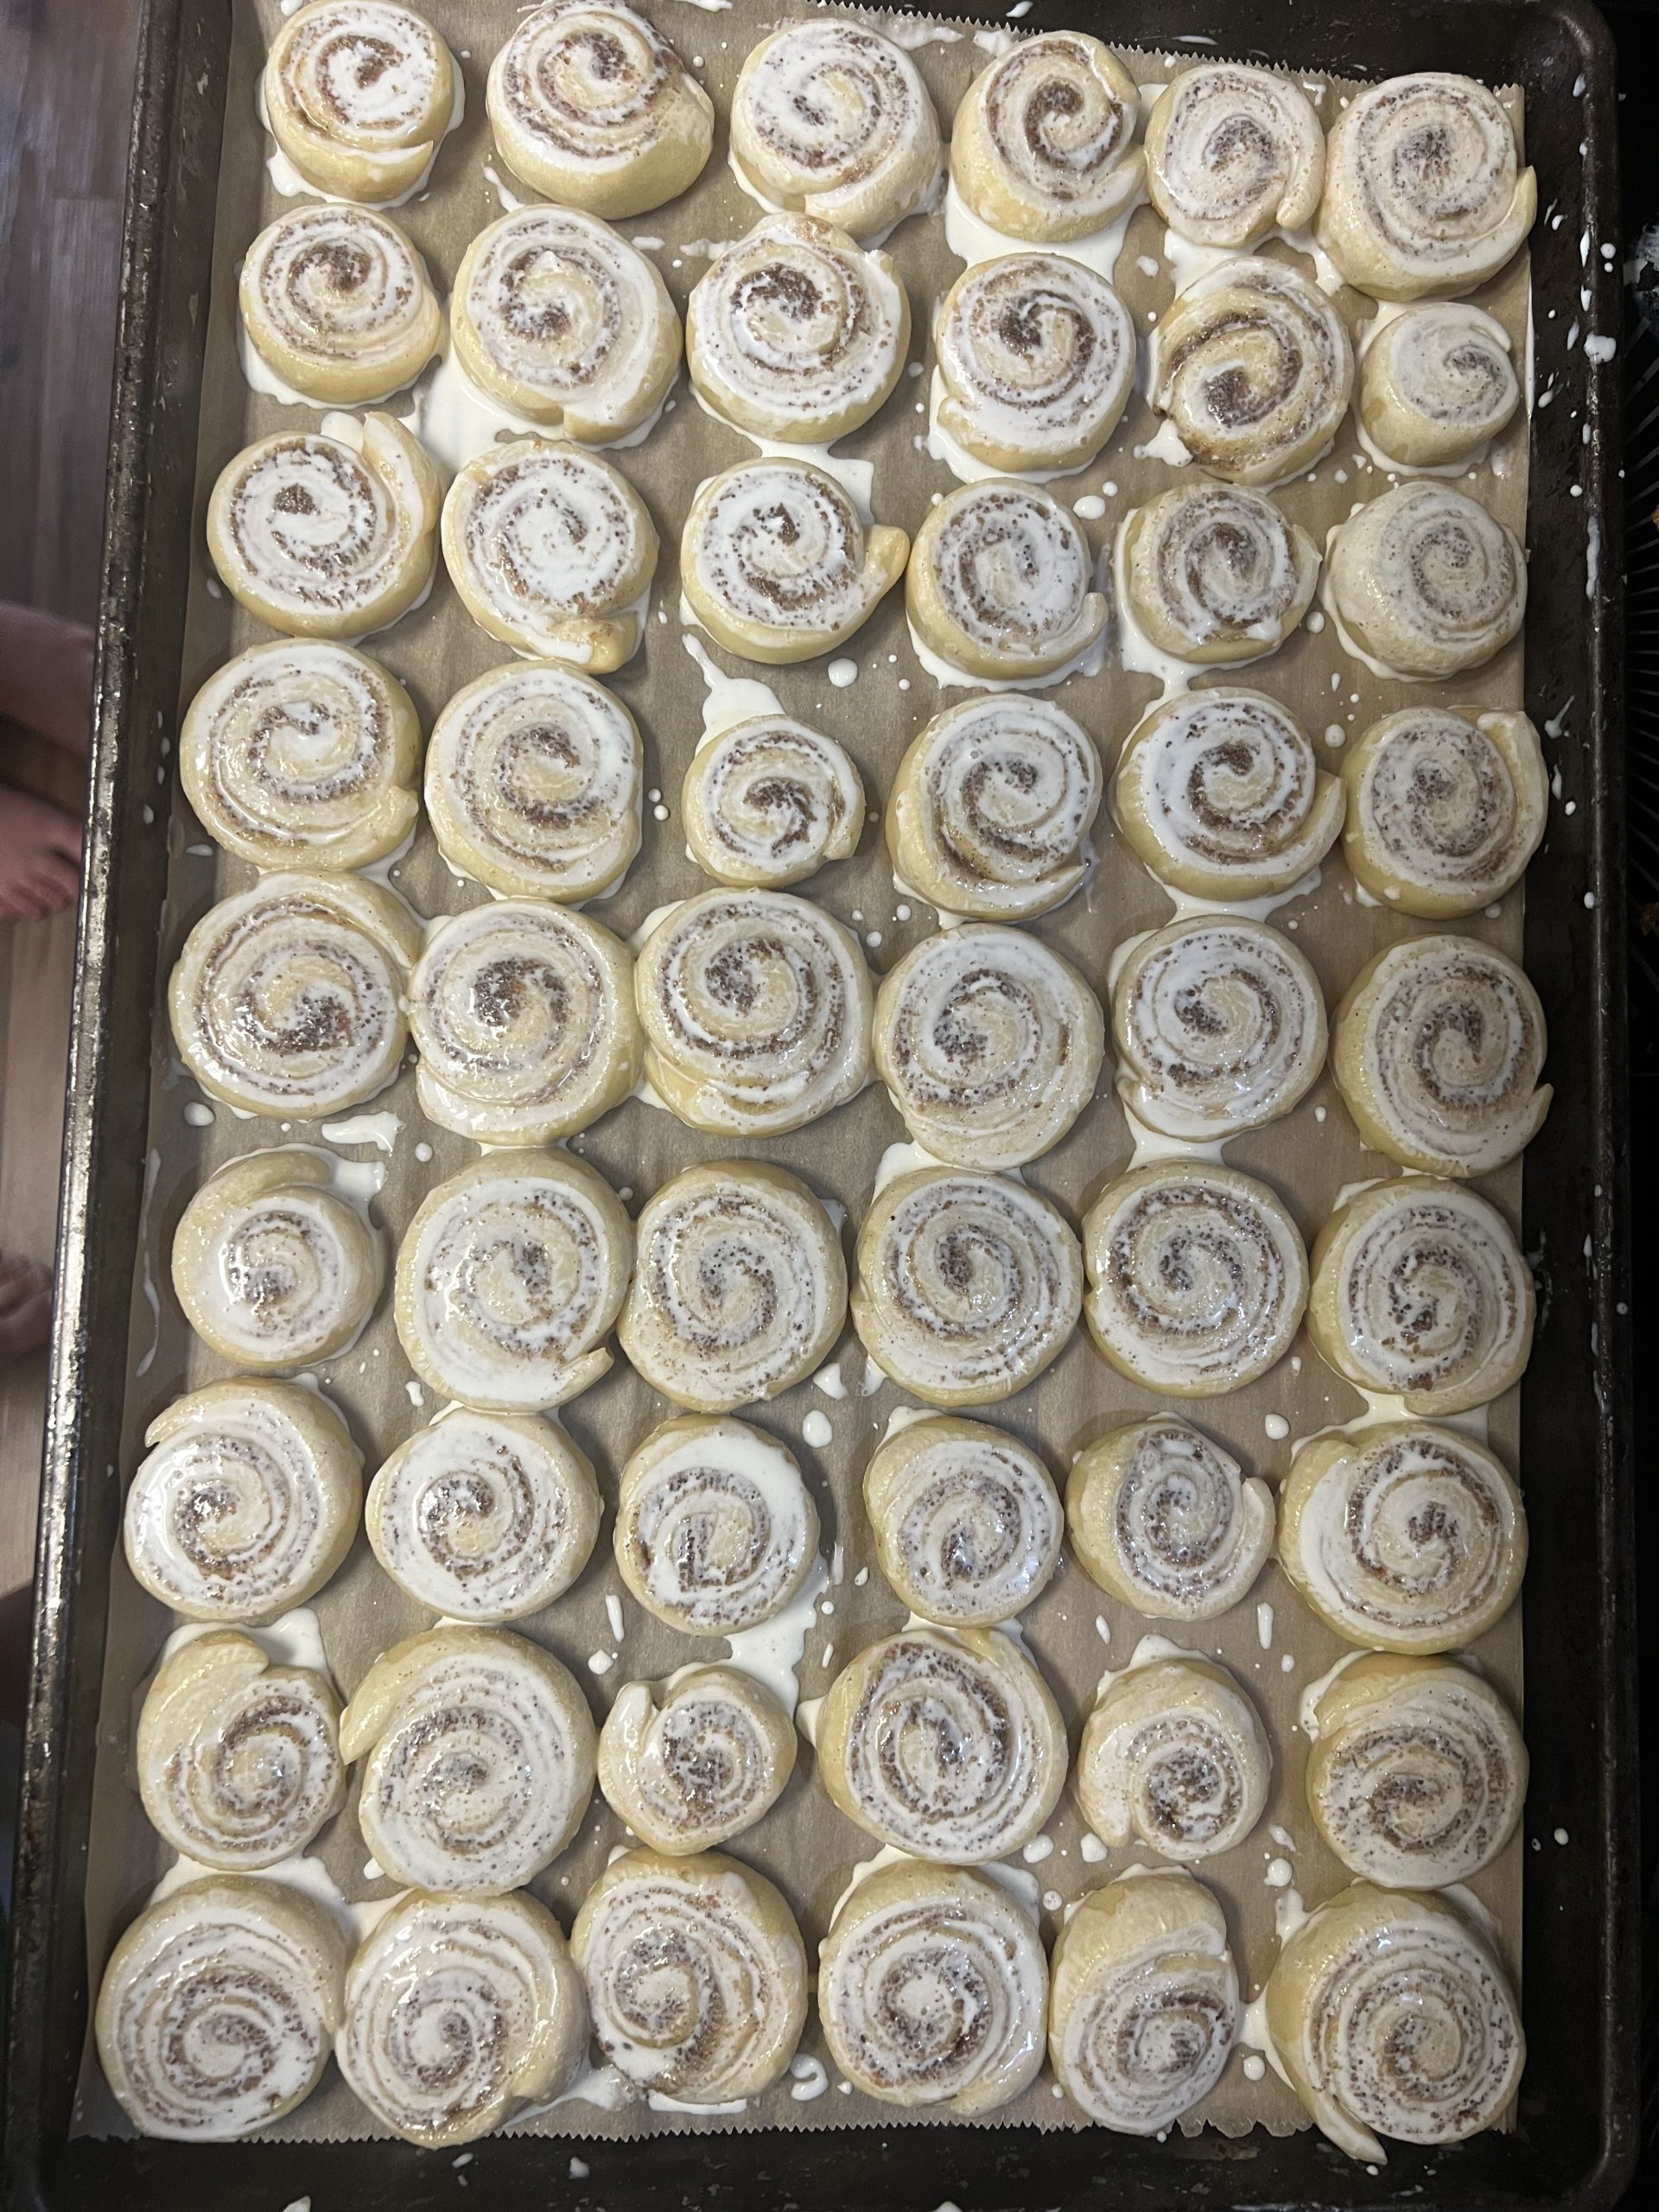
Before baking, brush the tops with about ½ cup of heavy cream. I use a silicone pastry brush so I can get a little over each roll without dumping cream all over the pan.
Here’s the 15 × 21-inch rimmed sheet pan I use.
And this is the silicone pastry brush I use to brush on the heavy cream.
4. bake
Bake at 350°F. Start checking around 14–15 minutes. Mine usually take about 17 minutes, but you’re looking for lightly golden tops rather than a specific second on the timer.
Because they’re small, they can go from soft to overdone faster than a full-size cinnamon roll.
5. make the glaze
Brown the butter in a small saucepan until it smells nutty and you see those golden-brown bits forming at the bottom. Let it cool for about 5–10 minutes so it’s still pourable but no longer screaming hot.
Whisk together the powdered sugar, heavy cream, milk, corn syrup, vanilla, and salt. Slowly whisk in the browned butter until smooth. If the glaze is thicker than you want, add just a small splash of milk.
If brown butter makes you nervous… Skip it. Seriously. Leave the browned butter out and you’ll still have a really good vanilla glaze.
But if you have the extra few minutes, I promise it’s totally worth it. The brown butter gives the glaze this warm, nutty flavor with just enough saltiness to keep the whole thing from tasting like straight powdered sugar.
How I turn dinner into freezer breakfast
We try to keep mini cinnamon rolls in the freezer. When we run out, I’ll often put breakfast-for-dinner on the meal plan on purpose: a fresh batch for dinner, and the freezer gets restocked at the same time.
I don’t glaze the entire sheet pan. I glaze whatever we’re eating fresh that night and leave the freezer portion plain.
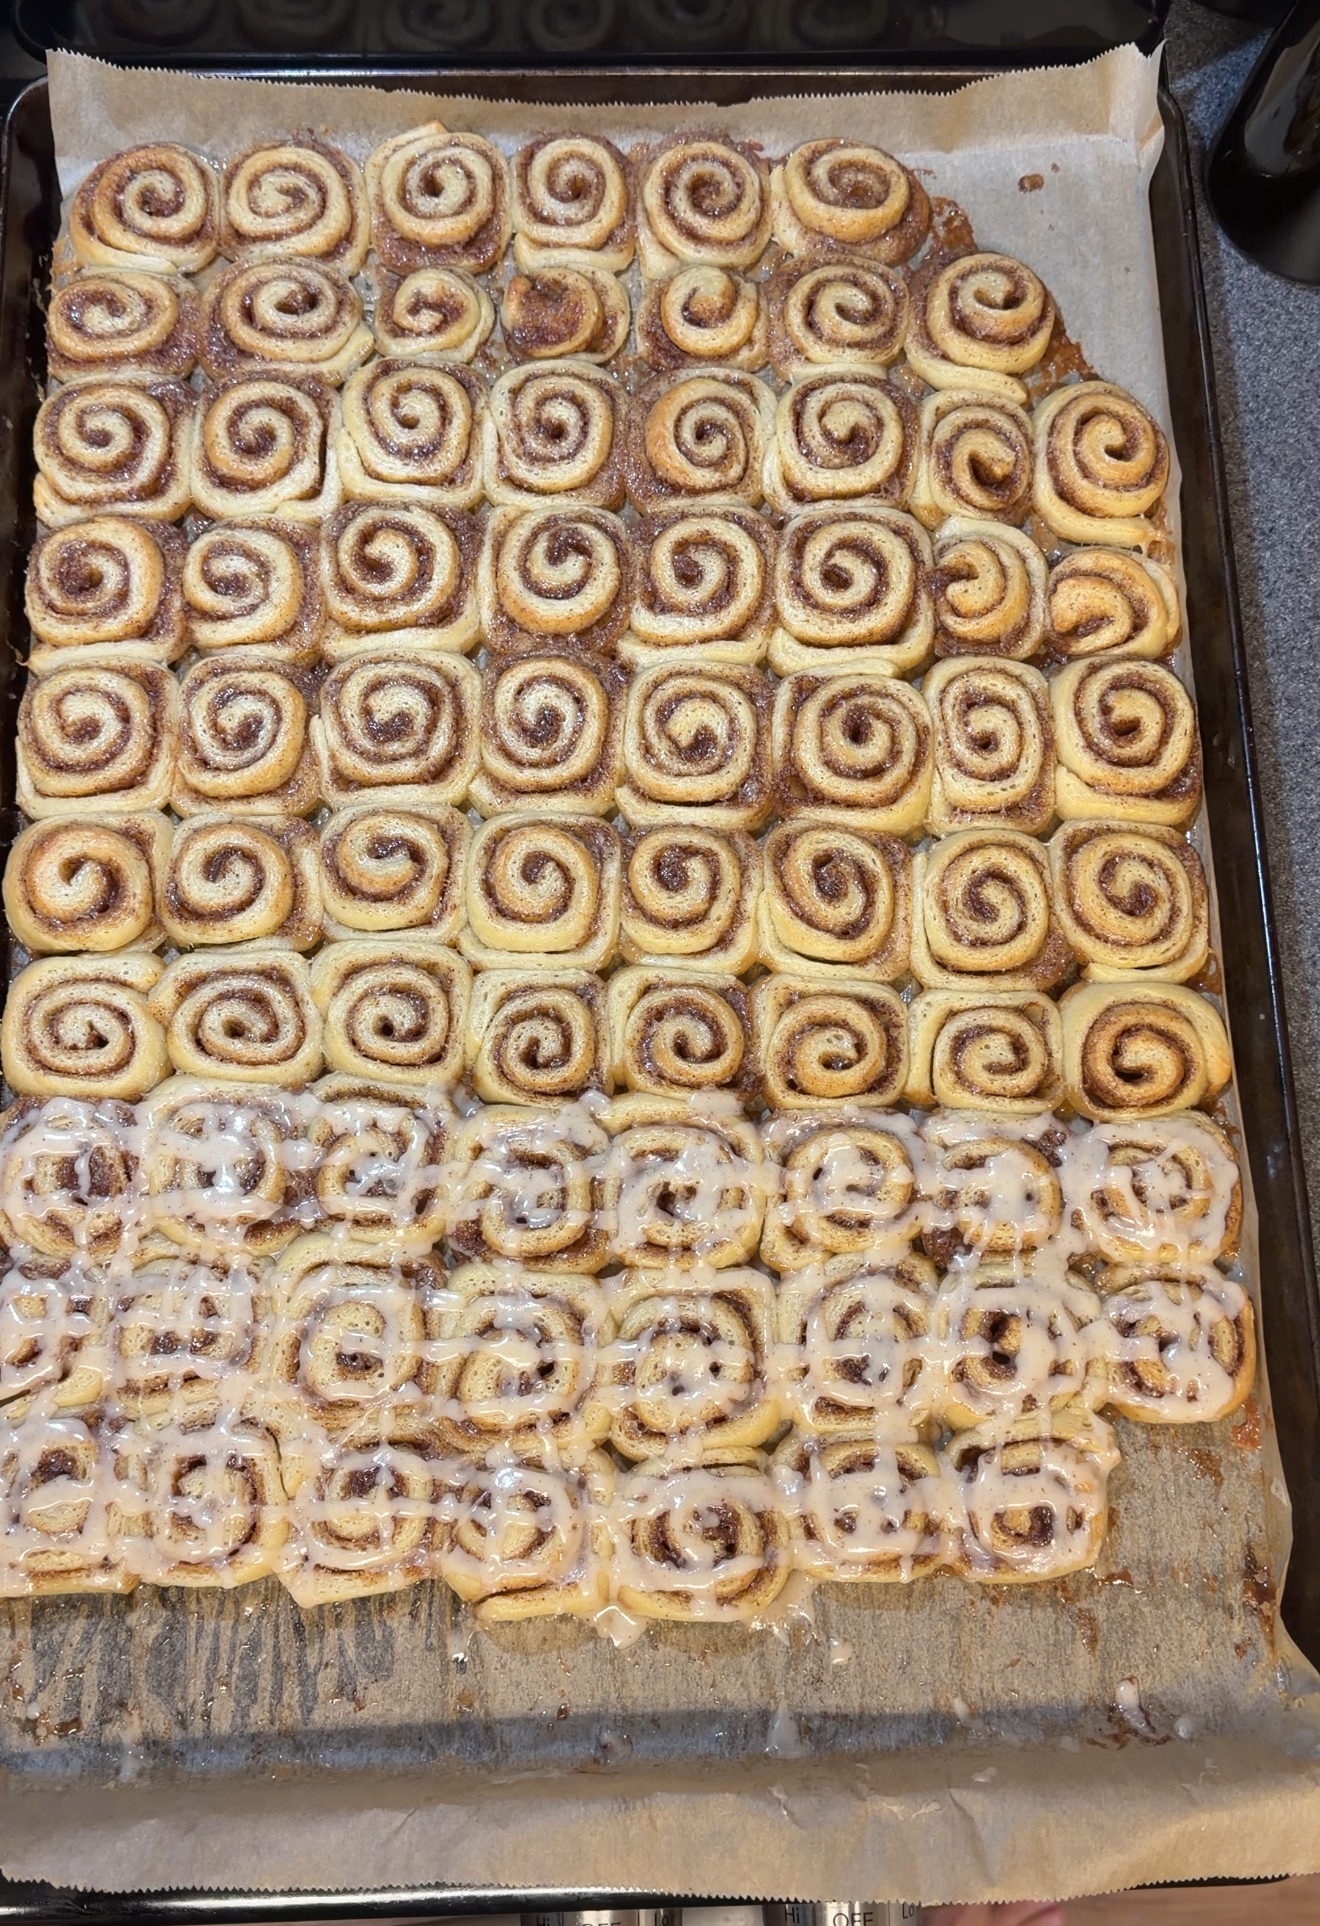
Once dinner is over and the remaining rolls are completely cool, those become freezer breakfast. No second batch. No separate freezer-prep day. I already did the work.
should you freeze cinnamon rolls raw or baked?
I tested both.
Freezing them raw does work. The raw rolls thawed overnight in the refrigerator and then still needed time on the counter to finish proofing before baking.
And even after thawing them overnight, we still didn’t have cinnamon rolls until lunchtime.
During that process, some of the butter and cinnamon-sugar filling melted out and pooled underneath them, and the rolls spread more. They were still good. But for me, that was the deciding factor.
The baked version was dramatically simpler. Bake them once, cool them, freeze them, and then pull out exactly what you need.
So now I freeze them after baking.
How I freeze the cinnamon rolls
Let the unglazed rolls cool completely. I flash-freeze them first so they’re solid before packaging. Then I portion them into freezer bags and vacuum seal them.
I portion them around how we actually eat them. Six-roll packs work for smaller breakfasts, individual needs, or mornings when not everyone wants cinnamon rolls. I started with four. Four was apparently an insult. Six works better. 😂
I also regularly freeze larger packs of about 15 rolls for weekend mornings when all three kids are home and everyone wants the same breakfast. If the whole family is eating cinnamon rolls, I can thaw two of those larger packs as needed.
Six and fifteen aren’t magic numbers—they just fit our family. Packing what we’re likely to eat makes the freezer stock more useful.
And if I have the time, I may make a fresh batch instead of pulling enough from the freezer for everyone. We eat some fresh, and the same baking session replenishes the stock. Like breakfast-for-dinner, it’s a way to restock while feeding us—not a separate project that has to wait until the freezer is empty.
This is the FoodSaver vacuum sealer I use.
I use WeVAC vacuum bags, and one tiny thing I really like about them is the tear notch on the side. Once the bag is frozen and sealed, you can grab either side of that little notch and rip the bag open without hunting down scissors.
It’s a small thing. Until you use bags that don’t have it.
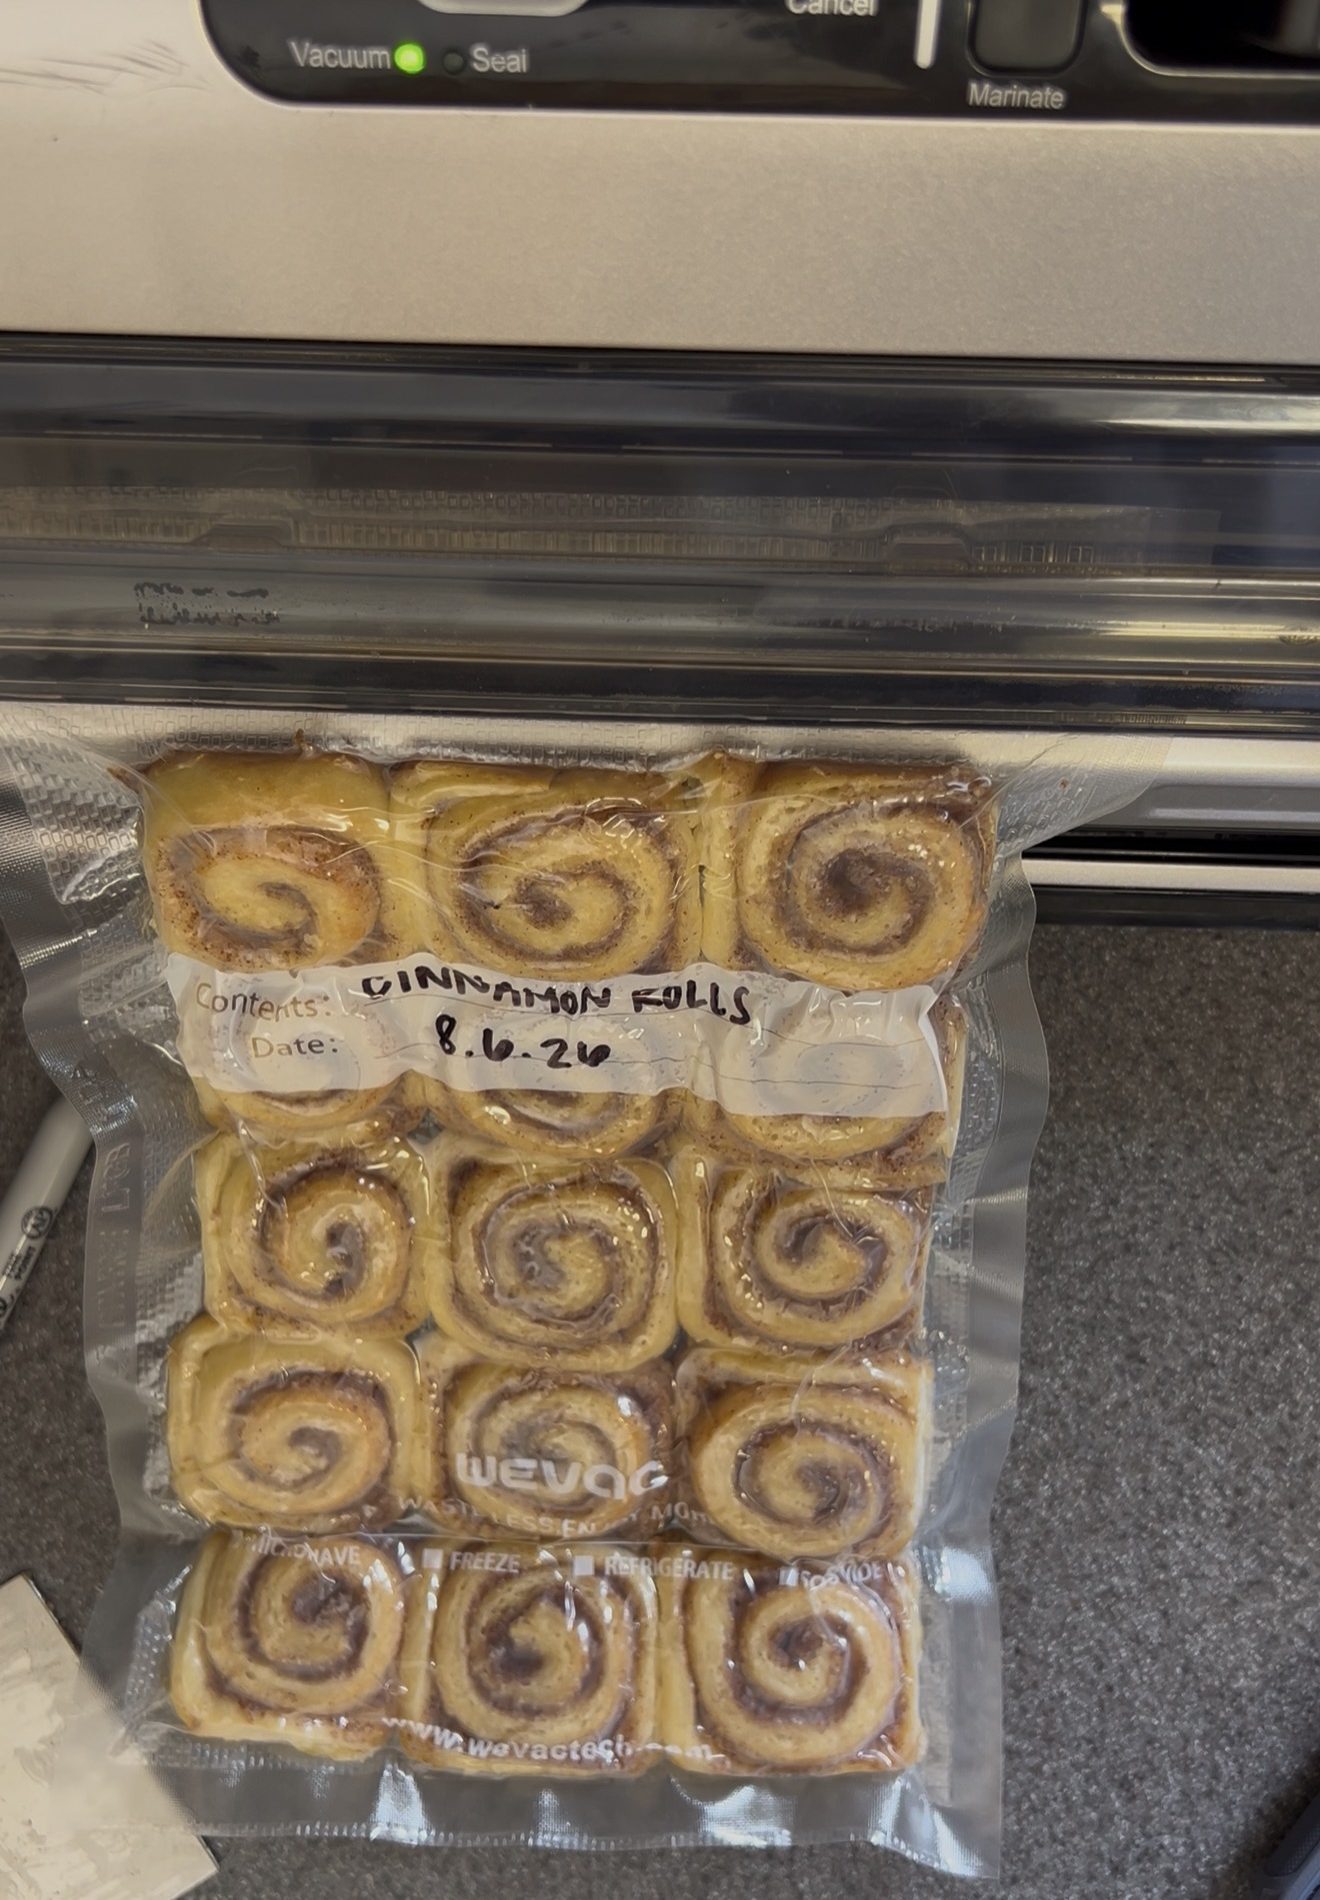
These are the exact WeVAC vacuum bags I use.
freeze the glaze too
You can absolutely make fresh glaze every time.
I am absolutely not doing that at 7 a.m.
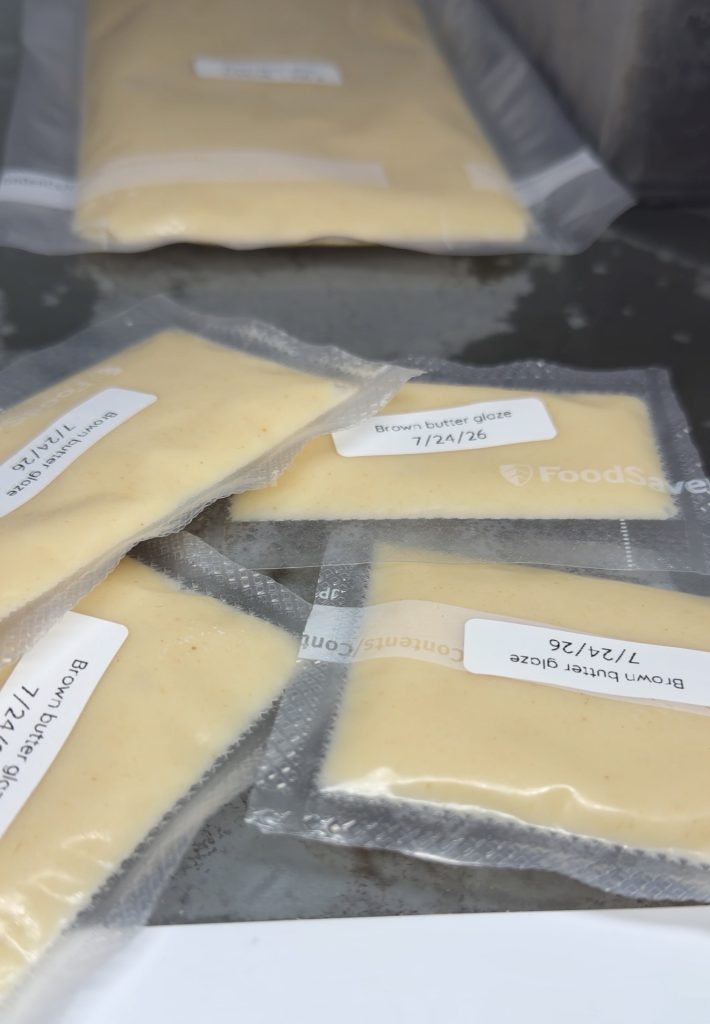
Instead, I freeze portions of the glaze in little individual packets. When I pull out a pack of cinnamon rolls, I grab a glaze packet too.
While the rolls are reheating, I move the glaze around with my fingers for a minute until it loosens up. Then I snip off one tiny corner and drizzle it straight over the warm cinnamon rolls.
No bowl. No spoon. No new batch of glaze.
That little freezer packet is what makes the whole system work for me.
how to reheat frozen mini cinnamon rolls
For a small serving, I use the microwave. Start around 20–25 seconds and add a few seconds if needed.
Microwaves vary, and because these are tiny, a few seconds makes a surprising difference. In my testing, four rolls at 20 seconds weren’t quite warm enough. At 30 seconds, they were very hot. So start conservatively.
For a larger batch, cover the frozen rolls with foil and warm them in a 300°F oven for roughly 12–15 minutes. Then add the glaze after reheating.
mini cinnamon roll FAQ
Should I freeze these raw or baked?
I tested both, and baked was much more practical for us. The raw-versus-baked test explains why.
Do I need to thaw the baked rolls before reheating?
I reheat mine straight from frozen. See the microwave and oven notes for my timing and what happened in testing.
Do you glaze them before freezing?
No. I freeze the rolls plain and the glaze in separate packets, then glaze the warm rolls. Here’s how I handle the packets.
Is the brown butter required?
No—leave it out for a vanilla glaze. I like the extra flavor when I have the few minutes to brown it.
the rooted pantry verdict: MAKE + STOCK
For our family, these earn MAKE + STOCK because restocking fits right into meals we’re already making. They’re not just leftovers we happen to freeze—they’re something we intentionally make room for in the freezer.
They taste close enough to fresh that nobody in my house is complaining about freezer cinnamon rolls. Including me.
That’s a keeper.
keep growing the rooted pantry
We’re figuring out what is worth making at home—and what can stay at the grocery store.